RSS

Category Archives: Wawang Lake Resort

How To Call Your Shots

Calling a shot simply means the marksman can tell where his bullet hit. This can be done by observing the bullet’s flight and impact or by knowing where the sights were the instant the firearm was triggered. There are two separate, but complementary, ways to call a shot.

shot

When shooting from non-prone positions, witnessing the impact of the bullet is difficult. The trick is to focus intently on the position of the sights and take a mental snapshot of where they were in relation to the target when the bullet was fired.

The best way to develop this skill is through dry-fire practice, coupled with live-fire practice shots at the range. When dry-firing, use a small target that is a challenge to keep the crosshairs on. Don’t fight the wobble of the sight, just smoothly break the shot as it covers the target. Remember where the crosshairs were when the trigger clicked. At the range, do this with every shot.

To actually see your bullet’s impact, you must pair this level of focus with excellent form. If you are square behind the rifle and not putting any pressure on the stock that will cause it to jump to the side under recoil, you’ll be able to watch the bullet and see where it hits.

Follow our FISHING BLOG

WEB   RATES     FISH    HUNT    CABINS    PHOTOS
TESTIMONIALS    BROCHURE    HUNT BOOKLET

Enter your email address to subscribe to this blog and receive notifications of new posts by email.

← Back

Thank you for your response. ✨

Email Me....


Tags: , , , , , , , ,

Pattern Birds for a Better Hunt

But you can save steps, increase your flush count, get more shots, and bag more birds if you use some common sense and follow the program below. Ruffed grouse utilize different parts of their habitat at different times of day. Here’s where to hunt and when.

Early Morning: Timber Seams
Don’t believe sleepyhead late-risers who rationalize that grouse hunting is better at midmorning. Hit the woods at sunrise, when the birds have just flown down and are moving out and laying down some scent for your dog. Even if you hunt without a canine, grouse are on the move and more vulnerable now.

DSC07479

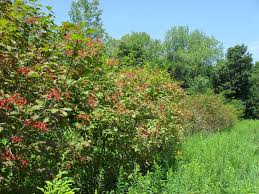
Hunt seams and transitions between big, mature timber (where birds like to roost), open areas, and the thick brush where grouse spend the bulk of their day. Another good zone is the seam between conifers, such as pines or spruce, and hardwoods.

cranMidmorning: Feeding Zones
By the time the sun has been up for an hour, most grouse have arrived at their feeding area and are foraging hard. Know what the birds are eating: If you shoot a grouse, open up its crop and check inside. Then hunt that kind of feed.

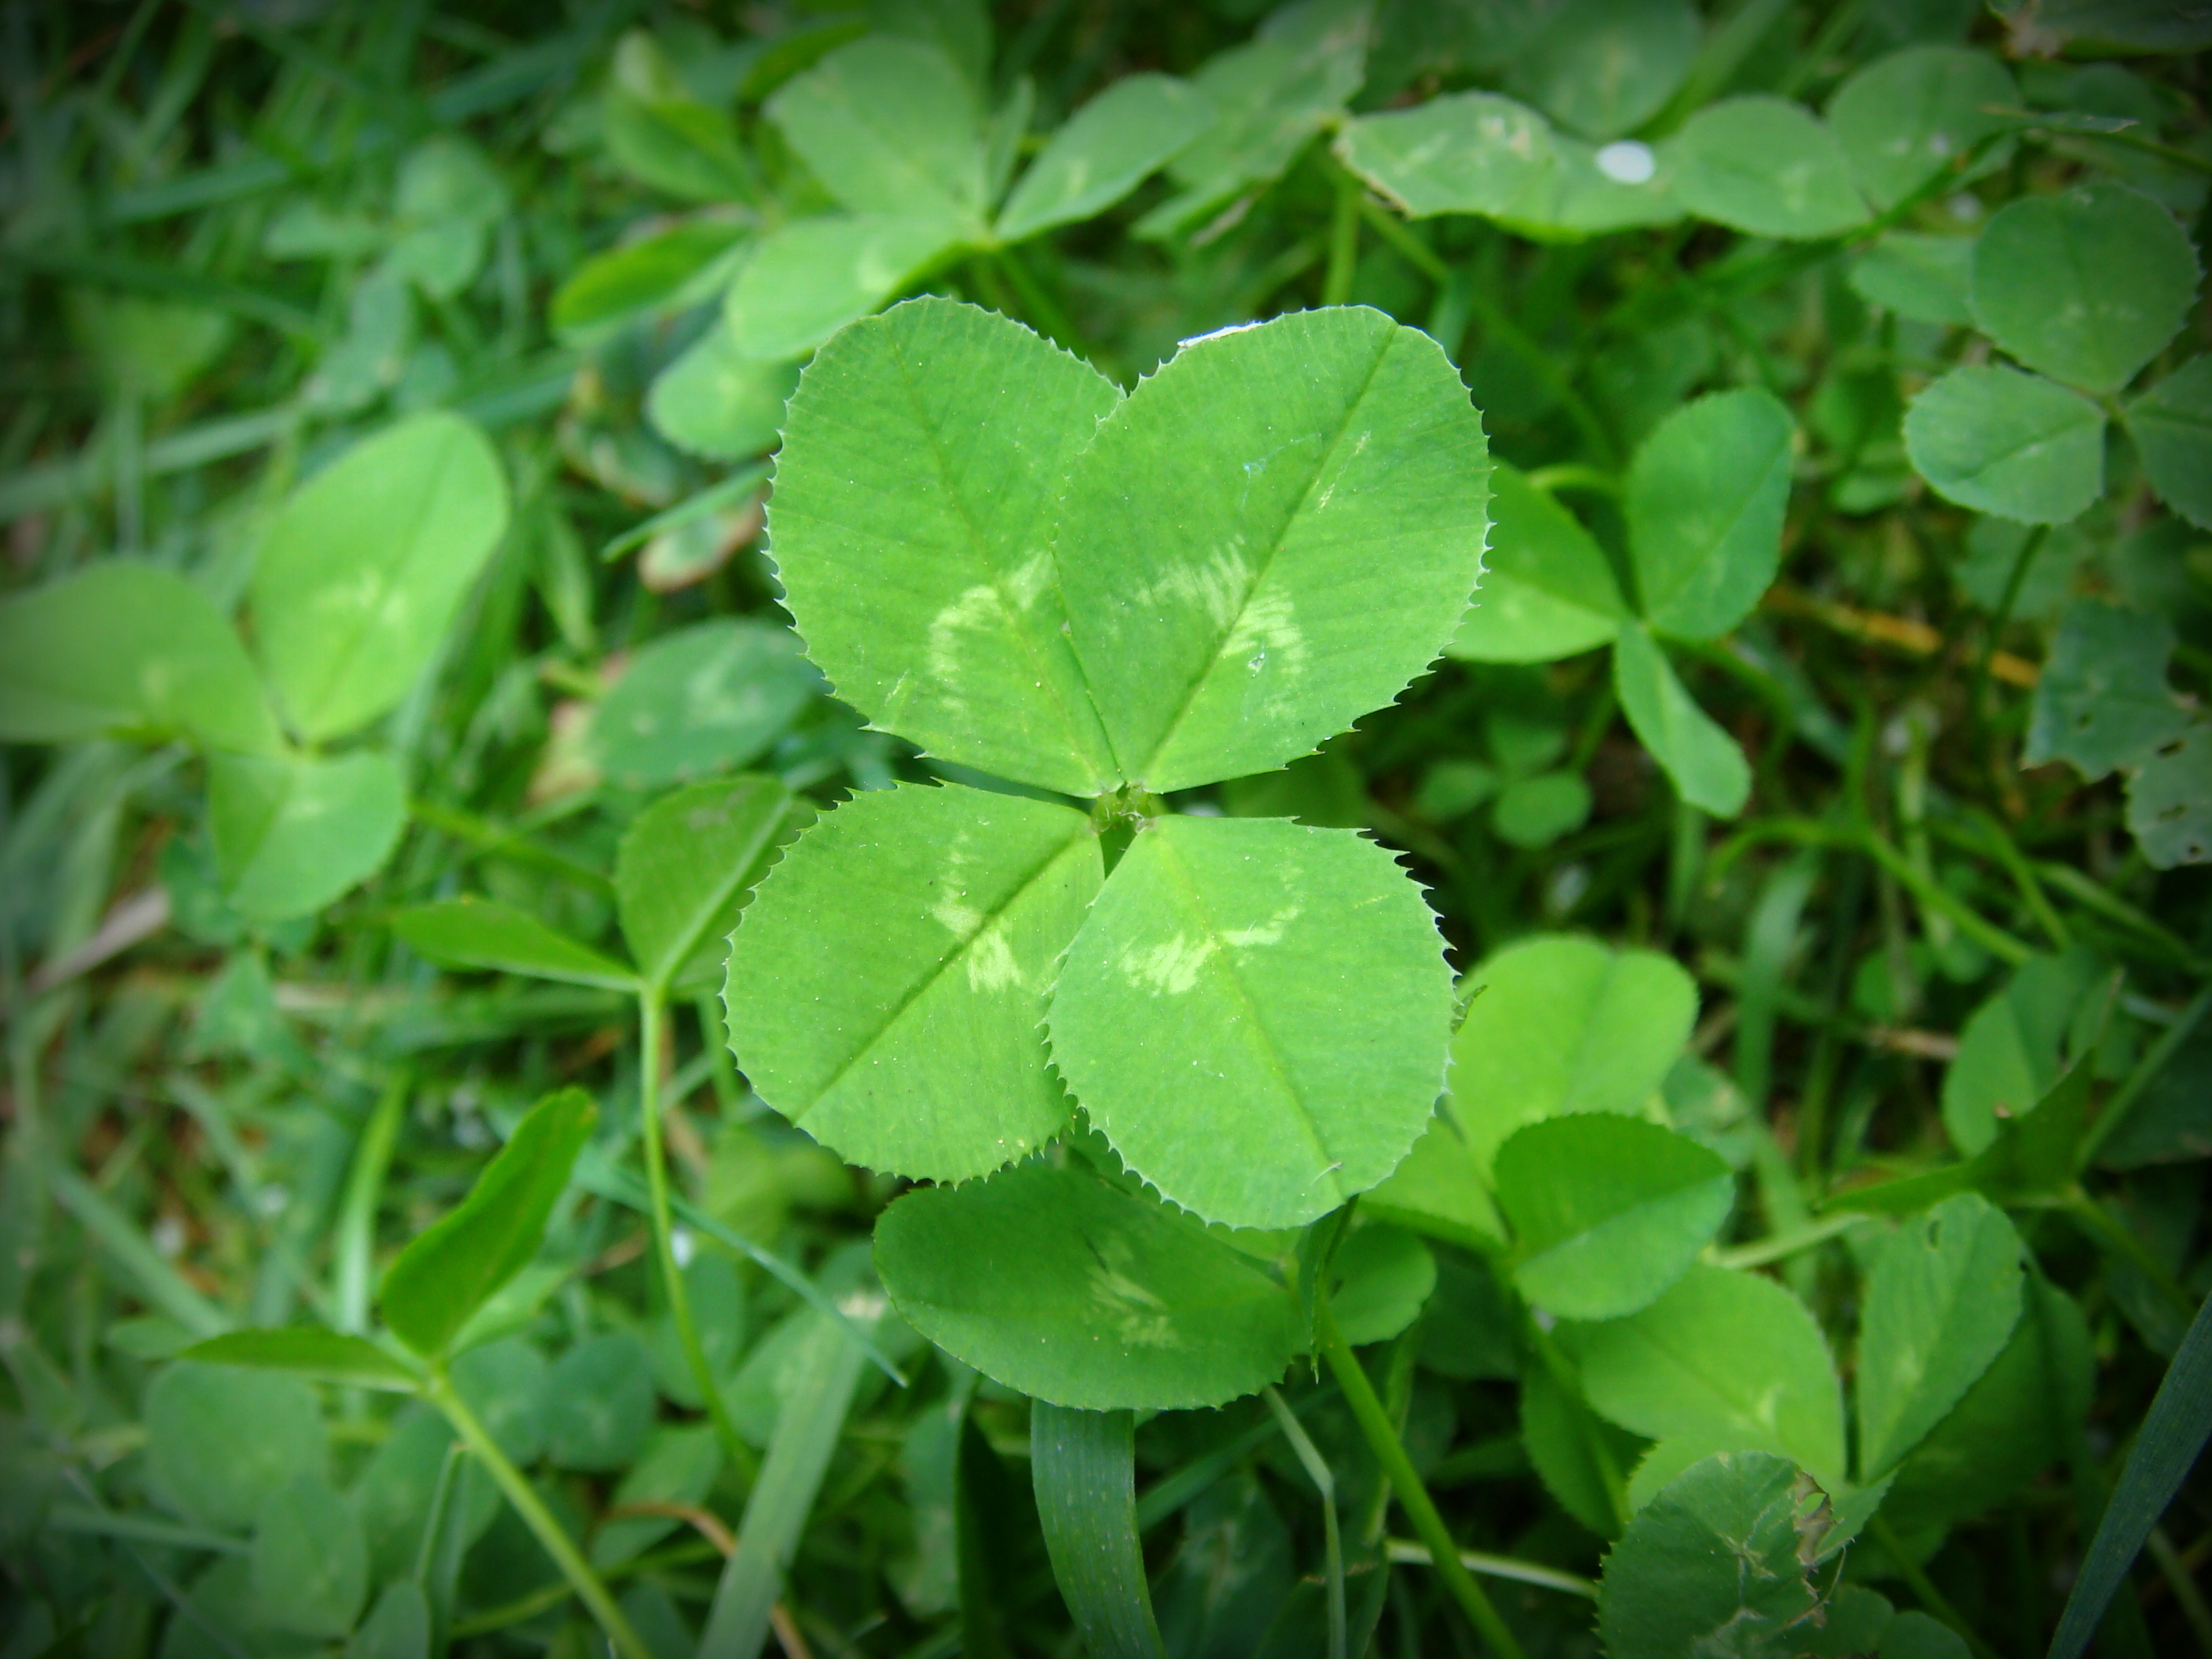
Grouse love high bush cranberries, plus most any other juicy or freeze-dried fruit, such as crab apples. Abandoned orchards are grouse heaven. If there are oaks around, grouse will look for small acorns and pieces. Work the edges of open areas like hay meadows and abandoned fields, where grouse will hunt insects and pick up seeds. Logging roads and tote trails with clover are also prime.

Afternoon: Thick Stuff
After feeding, ruffs work their way into the thick stuff, where they will loaf and spend the day under cover. As a general rule, think “low” and/or “damp” now—along brooks, creeks, marshes, bogs, and seeps.

Head for stands of young aspen—trunks from buggy-whip-thick to fencepost diameter are about right. Grouse love tag alder thickets, especially where that cover butts up to timber or wetlands. Brushy tangles of witch hazel, raspberry canes, and multiflora rose hold birds. So do deadfalls. On windy days, kick around in the grassy edges of some of the thickest cover.

Late Afternoon: Feeding/Gritting Areas
By late afternoon, grouse are out feeding again, as well as pecking for grit.
Hit the kinds of feeding areas discussed above. Also work sandy lanes, dirt roads, and the edges of other open areas where birds pick up grit.

Evening: Transition Corridors
You can hunt grouse right up to sunset, and this is a great time to be out, when the birds are back on the move toward roosting areas. Research indicates that grouse prefer to roost in and under deciduous and evergreen trees and shrubs, in brush piles, and in leaf litter. When cold weather hits, grouse will snow roost unless conditions are unsuitable. Conifers are then the roost cover of choice. Try hunting the transitions between stands of young timber and thick brush, or young timber and mature trees. If the evening is windy, stick to lower ground where birds find protection and quiet.

Follow our FISHING BLOG

WEB   RATES     FISH    HUNT    CABINS    PHOTOS
TESTIMONIALS    BROCHURE    HUNT BOOKLET

Enter your email address to subscribe to this blog and receive notifications of new posts by email.

← Back

Thank you for your response. ✨

Email Me....


Tags: , , , , , , ,

Make A Vault From PVC

Whether you’re storing beans, bullets, or bars of gold, you’ll need a secure place to keep these potential survival currencies. For a quick solution, you could purchase some expensive olive-drab burial vaults, but does it really matter what color they are if they’re buried in the ground? Follow these easy steps, and you can put together a PVC pipe vault for $15 or less.

pcv1

Materials
First, you’ll need a length of PVC drain pipe. Many stores sell pre-cut two-foot sections, but, if you’re planning to make several of these, it’s cheaper to buy an eight footer and cut it down. For each vault you’ll also need an end cap, a female threaded coupling, and a plug, plus some primer and PVC cement. Four-inch pipe and fittings give you a lot more interior room than three-inch line, but the cost of four-inch fittings is roughly double that of three-inch material.

Construction

Apply your purple primer around each end of the pipe, inside the cap, and inside the female fitting (but not on the threads!). The primer dries very quickly. Once dry, wipe the cement around one end of the pipe and inside the end cap. Do this quickly, it sets up fast! Slide the cap on and press it onto the ground to force the cap on tightly. If you don’t apply pressure for 10 to 15 seconds, the reaction from the cement, primer, and plastic will actually push the fitting apart. Repeat this process with the female fitting, but push on it with the threaded section facing upward (solid cap on the ground again). This keeps cement from running down into the threads.

pcv2

Let the fumes clear out for a day before storing any food in the vault. Otherwise, wait a few hours for the cement to dry. Once you have filled your vault, screw the plug in place tightly. If you’re burying it in a damp area, use a little Teflon tape around the threads. Use pipe dope compound on the threads if you are burying it in a wet location. Use a permanently glued cap on each end if you are submerging the vault in water.

Burial
After you fill your prepper-style treasure chest with loot, bury it in a smart, secure, and memorable location. Fake pet graves, flower beds, and under a mean dog’s doghouse are a few of my top recommendations. You can either bury it horizontally or, if you have a post hole digger, drive a hole straight down and drop it in. The vertical option means minimal surface disturbance and a smaller profile if someone comes along with a metal detector. Just make sure you can find it!

Follow our FISHING BLOG

WEB   RATES     FISH    HUNT    CABINS    PHOTOS
TESTIMONIALS    BROCHURE    HUNT BOOKLET

Enter your email address to subscribe to this blog and receive notifications of new posts by email.

← Back

Thank you for your response. ✨

Email Me....


Tags: , , , , ,

Roasted Grouse With Mushrooms

Make your own cream of mushroom sauce (and add bacon and whiskey) for this classic grouse recipe

grouse

Ask any deer camp old-timer for a foolproof recipe, and you’re likely to encounter a lot of Campbell’s Cream of Mushroom Soup. There is a reason for that: Mushrooms plus cream plus game meat adds up to a perfect trinity of flavors. This recipe chucks the can, and all its high-sodium gloppiness, while retaining the earthy comfort that made mushrooms and cream the go-to sauce for generations of hunters.

Ingredients

Grouse:
4 grouse
4 Tbsp. butter, softened
8 strips bacon

Sauce:

2 Tbsp. butter
20 oz. cremini or wild mushrooms, trimmed and sliced thin (morels, chanterelles, or a mix of wild and cultivated would be good)
1 shallot, minced
1 cup rich chicken stock (or defatted drippings from the pan)
3 sprigs thyme
12 cup cream (or crème fraîche)
(or)

1 Tbsp. bourbon
1 Tbsp. fresh thyme leaves, chopped
Salt and freshly ground black pepper

DIRECTIONS

1. ROAST THE GROUSE: Preheat the oven to 425 degrees. Rinse the birds, pat dry, then smear each with a tablespoon of softened butter. Generously salt and pepper, inside and out. Wrap 2 bacon slices around each grouse, then set them in a roasting pan. Roast in the oven until the grouse is browned, about 25 minutes. Remove to a plate and let rest, covered loosely in tinfoil, while you make the sauce.

2. MAKE THE SAUCE: Melt 2 Tbsp. butter in a large sauté pan over medium-high heat. Add the mushrooms and about 1/2 tsp. salt and sauté, stirring frequently, until the mushrooms release a lot of moisture and begin to smell fragrant, about 5 minutes. Reduce the heat to medium and add the shallot. Sauté until soft, and until most of the moisture has gone out of the pan, about 4 minutes. Add the stock (or defatted drippings from the roasting pan) and thyme sprigs and simmer until the liquid is reduced by half. Pour in the cream and bourbon and simmer until the sauce thickens, about 3–5 minutes.

3. TO SERVE, spoon the sauce onto four plates, and rest a grouse in the center of each. Sprinkle thyme over the grouse. SERVES 4

grouse3

Follow our FISHING BLOG

WEB   RATES     FISH    HUNT    CABINS    PHOTOS
TESTIMONIALS    BROCHURE    HUNT BOOKLET

Enter your email address to subscribe to this blog and receive notifications of new posts by email.

← Back

Thank you for your response. ✨

Email Me....


Tags: , , , , , ,

Camouflage Won’t Help IF…….

You’re invisible. Or at least you think you are. After all, you’ve done all the right things: bought that pricey camo that matches your surroundings, painted your face with lots of greasy face paint, and you are even wearing camo boots. Now all you have to do is sit there, soak in a little sunshine, and wait for a big boar to show himself.

SAM_0066

But when a bear does come in, he spots your position and blows out for the next county.  The problem? You set up in the sunlight

A common mistake that has ruined plenty of big-game hunters’ chances is setting up where direct sunlight can reach them. Sunshine turns a camouflaged hunter from an indistinct shadowy figure into a glowing beacon. Dappled sunlight shining through a canopy of leaves isn’t usually a problem. But direct sunlight can reveal your whereabouts and end your hunt.

SAM_0057

Camouflage clothing’s basic function is to break up our outline – tricking our prey’s eyes into passing over us in their constant search for danger. The human silhouette is incredibly distinct in the wilderness – there is no other form like it. To fool game, it is essential to reduce our human outline. The best camo patterns utilize starkly contrasting colors in their design, thus changing us from a human form into something indistinct and non-threatening. Interestingly, for those of you traditional hunters like me – a good plaid pattern like Fred Bear often wore can work almost as effectively as modern camouflage.

Randy Bear


Remember that sunlight moves as the earth rotates. Set up your ambush in a location that allows you to remain shadowed as the light moves around you. If you are still-hunting or stalking, move efficiently through areas of sunshine and then pause to watch and listen when in the shadows.  Set up in dark shade that offers good shooting lanes. Remember to keep your hands and face camo’d up as well – if left uncovered, they are a dead giveaway even in the shadows.

Follow our FISHING BLOG

WEB   RATES     FISH    HUNT    CABINS    PHOTOS
TESTIMONIALS    BROCHURE    HUNT BOOKLET

Enter your email address to subscribe to this blog and receive notifications of new posts by email.

← Back

Thank you for your response. ✨

Email Me....


Tags: , , , , , , , , , , , , ,

Test your Accuracy with Ballistics Software

Ballistics calculators are indispensable tools for making hits on long-range targets, but they are only as accurate as the data they are fed. Many shooters fail to appreciate that some of the initial data input into these calculators are just good guesses and need to be tweaked based on trial-and-error experimentation in the field. However, spend time getting these four calculators dialed in, and you’ll be amazed at the improvement in your accuracy.

shoot1

Field Firing Solutions
This sophisticated software program comes on an SD card and works with PDAs that run WM 5.0 or above. The program, called Delta V, can work with Bluetooth-enabled Kestrel units to incorporate environmental data at the shooter’s location. This is an advanced program that requires dedication to master, but it is the best on the market. ($395; lextalus.com)

Cold Bore
This software works on both Windows desktop computers and mobile devices running WM operating systems. This calculator doesn’t use a ballistic coefficient (BC) model, but rather one that employs a drag coefficient, which is more precise. The software can be purchased as a bundled package for both desktop and mobile, or individually for either platform. ($150, bundled; $85, individual; patagoniaballistics.com)

Applied Ballistics
This easy-to-use software was developed by Brian Litz, one of the foremost experts on long-range ballistics. It runs on both Android and iOS mobile devices. The calculator comes with a library containing hundreds of custom G1/G7 BC shootprofiles for various bullets. ($30; appliedballisticsllc.com)

JBM Ballistics
This web-based ballistics calculator is both very good and very free. It has a comprehensive library of existing loads, and allows the shooter to tweak the inputs to generate accurate firing solutions. (jbmballistics.com)

How Wind Affects Bullet Flight
Whereas judging a bullet’s drop at long-range is a science, correctly calculating the effect of wind is more of an art. Unseen eddies, sudden gusts, and funnels created by the terrain can all come into play, and it takes practice to pick up on these influences.

Usually, we’re limited to taking a single wind reading at the shooting position. But if we can ascertain only one wind value, that is the one to have. This is because the wind nearest the shooter has the greatest effect on the bullet’s path. Why? Once the projectile starts moving due to the wind, it keeps angling in that direction, even if the conditions are calm down range.

Conversely, if it is only windy down range, the bullet will move less since there is less time remaining in the bullet’s flight.

Follow our FISHING BLOG

WEB   RATES     FISH    HUNT    CABINS    PHOTOS
TESTIMONIALS    BROCHURE    HUNT BOOKLET

Enter your email address to subscribe to this blog and receive notifications of new posts by email.

← Back

Thank you for your response. ✨

Email Me....


Tags: , , ,

How to Use Wood Sorrel for Food, and Hangovers

If you had a little too much green beer over the weekend, don’t worry — you weren’t alone. St. Patrick’s Day may have a rich historical point of origin in Ireland, but here in North America, it’s often just an excuse to chug cheap brews died into verdant colors. So here’s a little shamrock for the outdoor lover who might still overindulge.

4 clover

Wood Sorrel

The little green plant known as wood sorrel (Oxalis stricta) has often been mistaken as clover because of its three leaflets. On closer examination, you’ll find a big difference. Sorrel’s leaflets are heart shaped, while clover leaflets are round or oval. Wood sorrel grows in both sunny places and shady spots on the edges of woods throughout North America and it has many relatives growing coast to coast.

Wood sorrel usually tops out at under a foot tall, and it typically has small yellow flowers, though some species have more pinkish or purplish blooms. Looking much like a classic shamrock, the fresh leaves can be eaten raw as a tasty sour salad green.

4-Leaf Clover

4-Leaf Clover

You can also make a helpful hangover cure with wood sorrel. A handful of the leaves can be steeped in hot water for 10 minutes and then chilled to make a cold drink. This cold beverage looks and tastes like a green lemonade, and has the remarkable ability to calm nausea and soothe upset stomachs, which often go hand-in-hand with the headaches of hangovers.

While there’s no problem with the occasional consumption of this plant, use it in moderation over the long term. The sour tasting oxalic acid in wood sorrel can inhibit the body’s absorption of calcium and possibly contribute to kidney stones over time.

Look for related edible species such as the violet wood sorrel (Oxalis violacea), the pink wood sorrel (Oxalis montana), and other members of the Oxalis genus.

Have you eaten this wild edible? Or used it to treat nausea? Leave us your comments.

Happy St. Patrick’s Day!

Follow our FISHING BLOG

WEB   RATES     FISH    HUNT    CABINS    PHOTOS
TESTIMONIALS    BROCHURE    HUNT BOOKLET

Enter your email address to subscribe to this blog and receive notifications of new posts by email.

← Back

Thank you for your response. ✨

Email Me....


Tags: , , , , , ,

Make A Vault From PVC

Whether you’re storing beans, bullets, or bars of gold, you’ll need a secure place to keep these potential survival currencies. For a quick solution, you could purchase some expensive olive-drab burial vaults, but does it really matter what color they are if they’re buried in the ground? Follow these easy steps, and you can put together a PVC pipe vault for $15 or less.

pcv1

Materials
First, you’ll need a length of PVC drain pipe. Many stores sell pre-cut two-foot sections, but, if you’re planning to make several of these, it’s cheaper to buy an eight footer and cut it down. For each vault you’ll also need an end cap, a female threaded coupling, and a plug, plus some primer and PVC cement. Four-inch pipe and fittings give you a lot more interior room than three-inch line, but the cost of four-inch fittings is roughly double that of three-inch material.

Construction

Apply your purple primer around each end of the pipe, inside the cap, and inside the female fitting (but not on the threads!). The primer dries very quickly. Once dry, wipe the cement around one end of the pipe and inside the end cap. Do this quickly, it sets up fast! Slide the cap on and press it onto the ground to force the cap on tightly. If you don’t apply pressure for 10 to 15 seconds, the reaction from the cement, primer, and plastic will actually push the fitting apart. Repeat this process with the female fitting, but push on it with the threaded section facing upward (solid cap on the ground again). This keeps cement from running down into the threads.

pcv2

Let the fumes clear out for a day before storing any food in the vault. Otherwise, wait a few hours for the cement to dry. Once you have filled your vault, screw the plug in place tightly. If you’re burying it in a damp area, use a little Teflon tape around the threads. Use pipe dope compound on the threads if you are burying it in a wet location. Use a permanently glued cap on each end if you are submerging the vault in water.

Burial
After you fill your prepper-style treasure chest with loot, bury it in a smart, secure, and memorable location. Fake pet graves, flower beds, and under a mean dog’s doghouse are a few of my top recommendations. You can either bury it horizontally or, if you have a post hole digger, drive a hole straight down and drop it in. The vertical option means minimal surface disturbance and a smaller profile if someone comes along with a metal detector. Just make sure you can find it!

Follow our FISHING BLOG

WEB   RATES     FISH    HUNT    CABINS    PHOTOS
TESTIMONIALS    BROCHURE    HUNT BOOKLET

Enter your email address to subscribe to this blog and receive notifications of new posts by email.

← Back

Thank you for your response. ✨

Email Me....


Tags: , , , , ,

Roasted Grouse With Mushrooms

Make your own cream of mushroom sauce (and add bacon and whiskey) for this classic grouse recipe

grouse

Ask any deer camp old-timer for a foolproof recipe, and you’re likely to encounter a lot of Campbell’s Cream of Mushroom Soup. There is a reason for that: Mushrooms plus cream plus game meat adds up to a perfect trinity of flavors. This recipe chucks the can, and all its high-sodium gloppiness, while retaining the earthy comfort that made mushrooms and cream the go-to sauce for generations of hunters.

Ingredients

Grouse:
4 grouse
4 Tbsp. butter, softened
8 strips bacon

Sauce:

2 Tbsp. butter
20 oz. cremini or wild mushrooms, trimmed and sliced thin (morels, chanterelles, or a mix of wild and cultivated would be good)
1 shallot, minced
1 cup rich chicken stock (or defatted drippings from the pan)
3 sprigs thyme
12 cup cream (or crème fraîche)
(or)

1 Tbsp. bourbon
1 Tbsp. fresh thyme leaves, chopped
Salt and freshly ground black pepper

DIRECTIONS

1. ROAST THE GROUSE: Preheat the oven to 425 degrees. Rinse the birds, pat dry, then smear each with a tablespoon of softened butter. Generously salt and pepper, inside and out. Wrap 2 bacon slices around each grouse, then set them in a roasting pan. Roast in the oven until the grouse is browned, about 25 minutes. Remove to a plate and let rest, covered loosely in tinfoil, while you make the sauce.

2. MAKE THE SAUCE: Melt 2 Tbsp. butter in a large sauté pan over medium-high heat. Add the mushrooms and about 1/2 tsp. salt and sauté, stirring frequently, until the mushrooms release a lot of moisture and begin to smell fragrant, about 5 minutes. Reduce the heat to medium and add the shallot. Sauté until soft, and until most of the moisture has gone out of the pan, about 4 minutes. Add the stock (or defatted drippings from the roasting pan) and thyme sprigs and simmer until the liquid is reduced by half. Pour in the cream and bourbon and simmer until the sauce thickens, about 3–5 minutes.

3. TO SERVE, spoon the sauce onto four plates, and rest a grouse in the center of each. Sprinkle thyme over the grouse. SERVES 4

grouse3

Follow our FISHING BLOG

WEB   RATES     FISH    HUNT    CABINS    PHOTOS
TESTIMONIALS    BROCHURE    HUNT BOOKLET

Enter your email address to subscribe to this blog and receive notifications of new posts by email.

← Back

Thank you for your response. ✨

Email Me....


Tags: , , , , , ,

Master the Moon Phases

We all understand that hunting or fishing near sunrise or sunset is almost always the most productive. Well, the same goes for the moon, along with its effects of overhead and underfoot periods. Just as the sun has its yearly cycle of 365 days, the moon has a yearly cycle as well, but in much less time of 29.5 days.

61-4vQI-vTL__SY336_BO1,204,203,200_


The effects the lunar cycle has on tides and weather is well documented, these effects carry over into wildlife movements as proven through record harvest studies.

Next time you hear about a big buck being taken at noon or the next time you’re looking at trail camera pictures of the one you’re after, the chances are it was during one of these times; moonrise, moonset overhead or underfoot.

app

Hunting Weather App


We are entering a favorite hunting time, waxing gibbous through full moon; 10 a.m. until noon and 3 p.m. until dark are your best times to hunt during this moon phase.

It will be especially good if weather factors you’re following on co-operate. Track the weather where you hunt and fish at ACCUWEATHER

Follow our FISHING BLOG

WEB   RATES     FISH    HUNT    CABINS    PHOTOS
TESTIMONIALS    BROCHURE    HUNT BOOKLET

Enter your email address to subscribe to this blog and receive notifications of new posts by email.

← Back

Thank you for your response. ✨

Email Me....


Tags: , , , , , ,