Morels are America’s mushroom, more so than any other. It may be because they’re widespread, they’re easy to identify, and they come up in the spring, giving people a reason to get out and enjoy warm weather after a long winter. Or, it could be they’re popular simply because they taste so good. Morels are so prized they sell for up to $20 a pound in grocery stores in most locations. Here’s a quick guide to finding your own. Please note that although morels are easy to identify, this a hunting guide, not a field guide. If you have any doubt about a mushroom, don’t keep it.

Found in much of the U.S. from late March through May, the morel is our favorite mushroom: plentiful, easy to identify, and delicious. It has colorful names like Molly Moocher, Miracle, Dry land Fish—or, my favorite, Hickory Chickens—but mostly, people just call them “mushrooms” and it’s understood that means “morels.”
Identifying Safe Morels
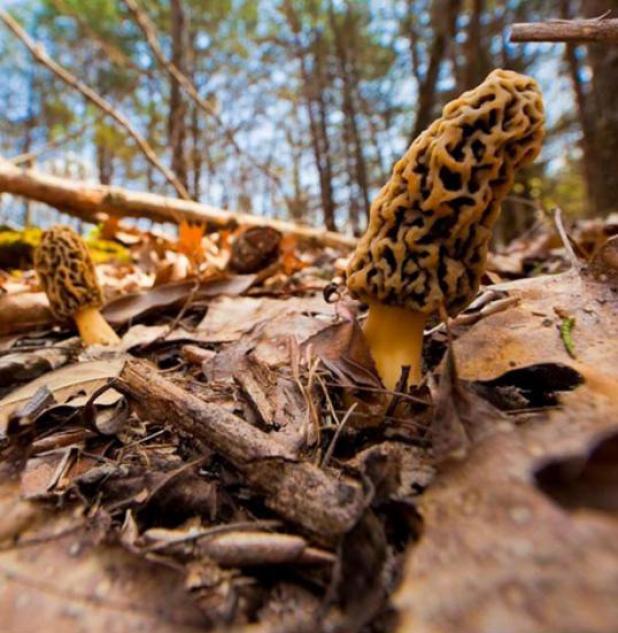

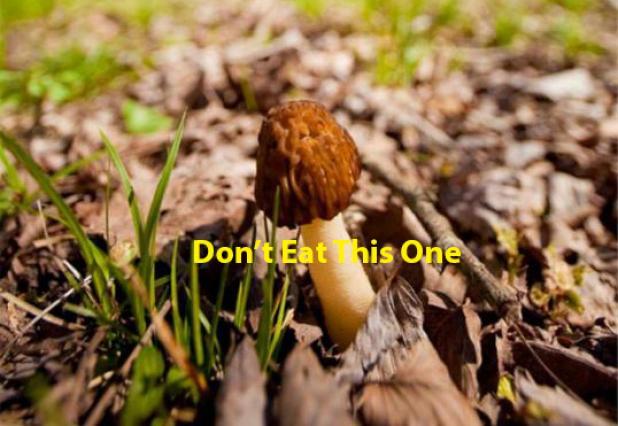
Here are two morels in the wild. Notice the pits (in the top photo), the distinctive conical shape, and the way the bottom of the cap (the pitted part) is attached near the bottom of the stem. Avoid the half-free morel (bottom photo), which has a longer stem and a cap that attaches near the top, looking like an umbrella. These mushrooms can cause some people to have cramps or other forms of gastrointestinal distress.
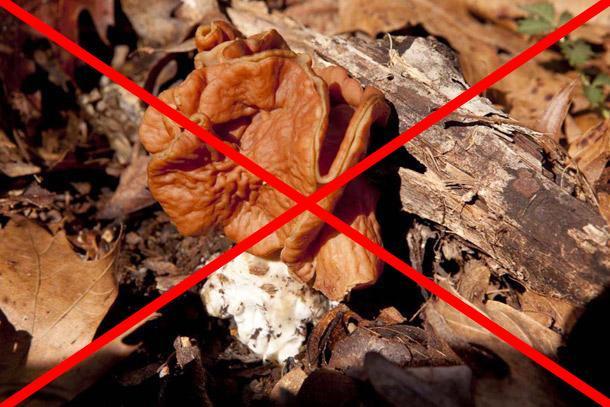
Definitely Don’t Eat This

Don’t eat this mushroom, which is a false morel and is mildly toxic. Notice that it lacks the cone shape of the real thing, and has wrinkles, not pits, on its cap.
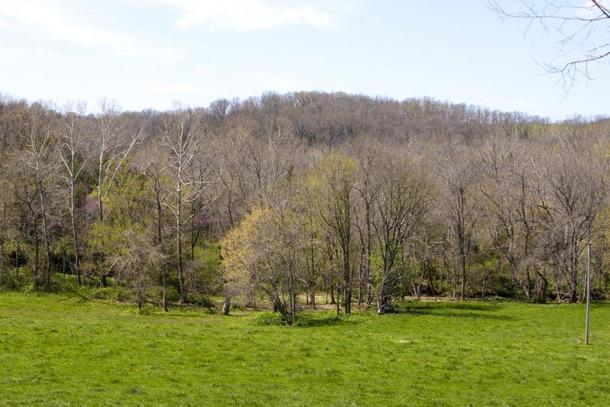
Where to Look

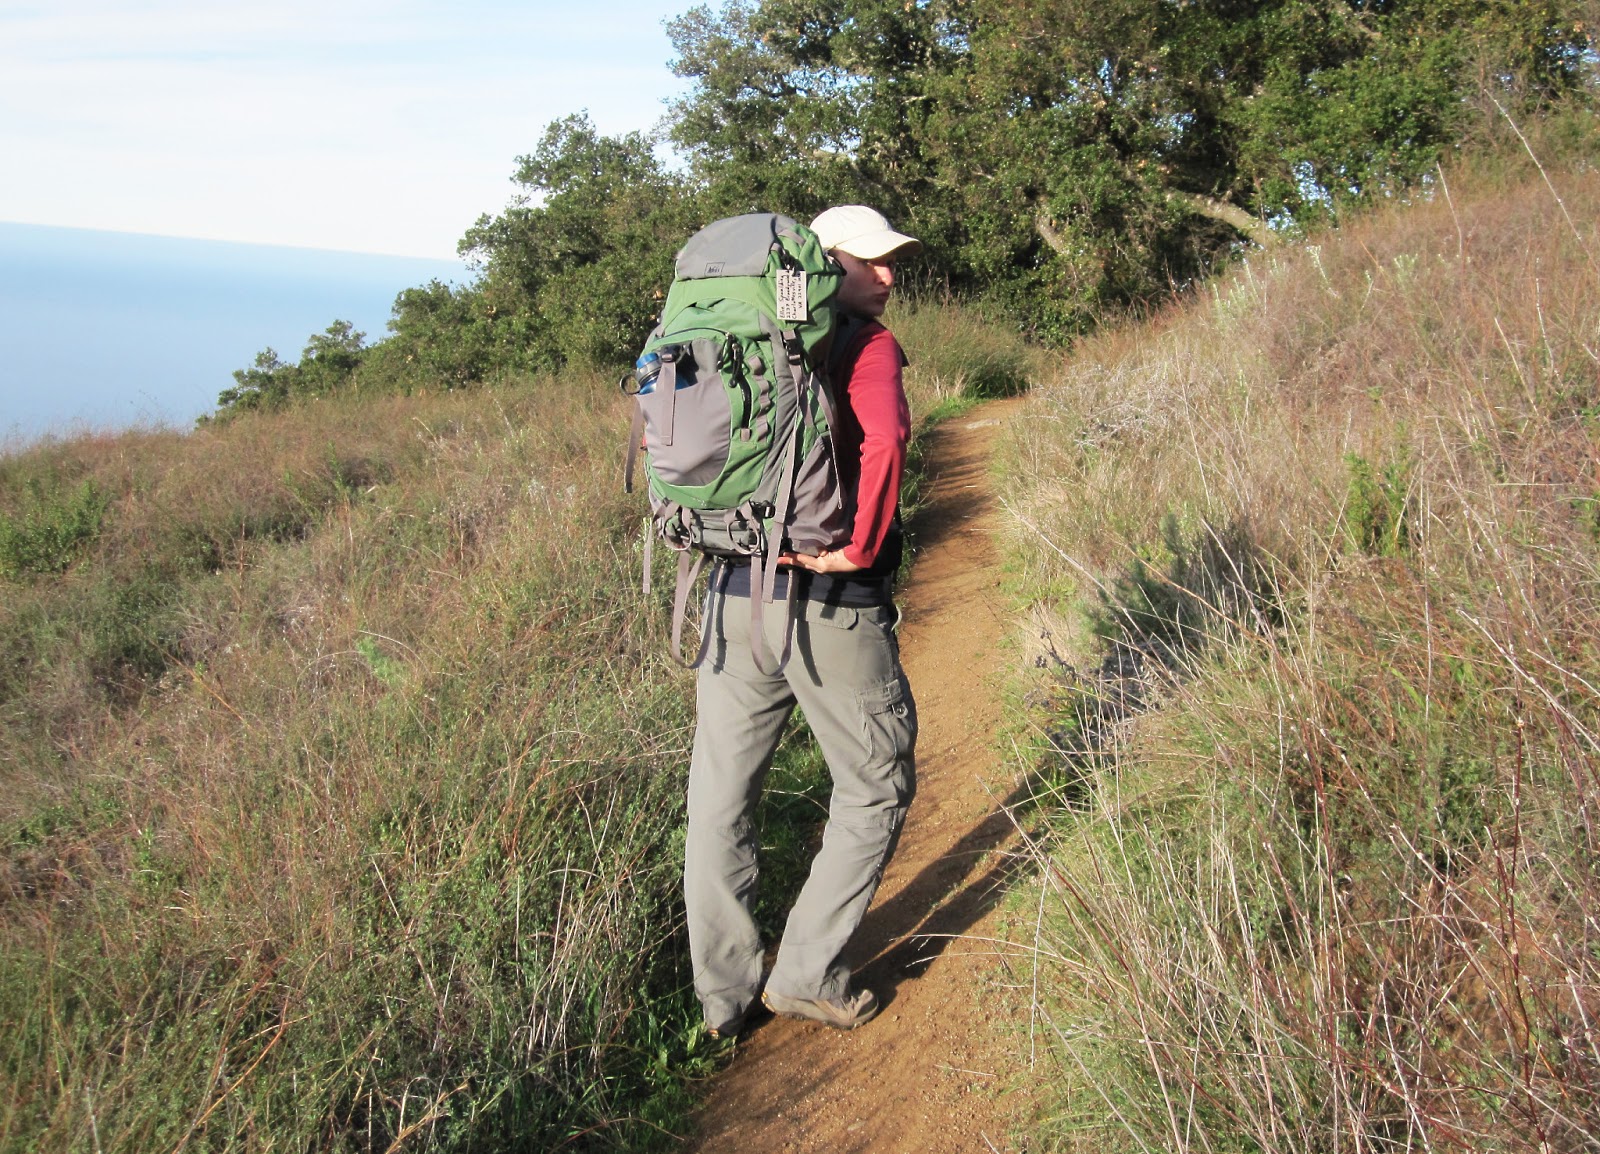
Morels live in and on the edge of forested areas. Look for ash, aspen, elm, and oak trees, around which morels often grow. Early in the spring as the ground is warming, you’ll find them on south-facing slopes in fairly open areas. As the season progresses, go deeper into the woods and onto north-facing slopes.

Well-drained, sandy soils like this creek bottom make good hunting spots as well. You’ll find the first morels of the year when daytime highs reach the 60s and lows stay above 40 degrees.
Hunting Tactics

Hunting morels is like bass fishing. You cover ground until you find one, then slow down and search the area carefully. Concentrate the rest of your hunt on similar areas, on the theory that you’ve found the “pattern” for the day.
Early-Season Morels

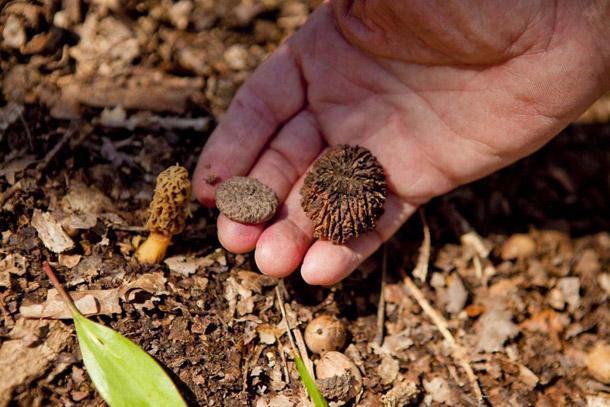
The first morels of the season are small. It takes quite a few to make a meal. The acorn top and walnut husk in the hand above help show scale.
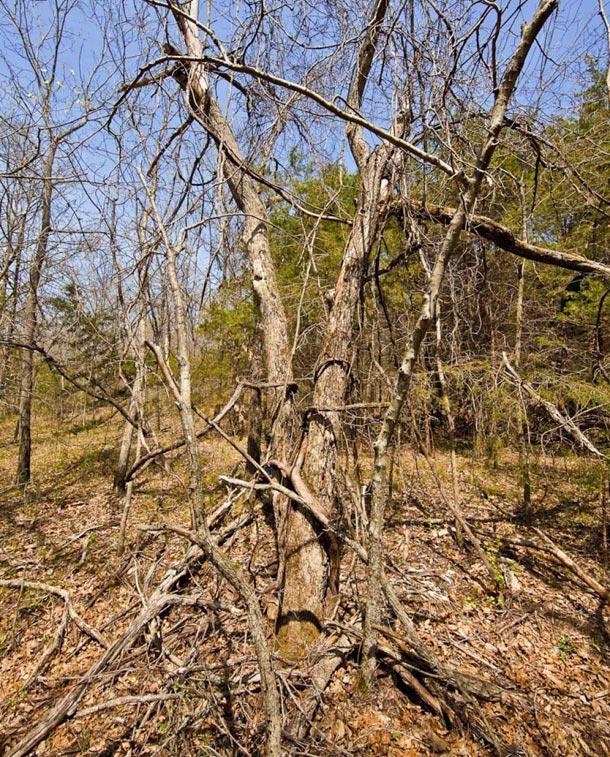
Look For Dead Trees

Morels often grow around dead and dying trees. Old apple orchards make good hunting grounds. Always look around dead elm trees like this one. When a tree reaches the stage of decay where its bark is slipping off its trunk you’ll often find lots of morels around it.
Later in the Season

As the season progresses you find bigger, yellow morels. They taste just as good as the smaller ones, they’re easier to spot, and it doesn’t take as many to feed a hungry hunter.
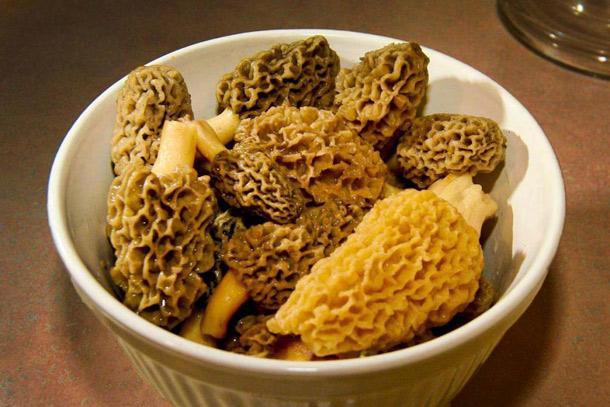
Soaking morels in water for a couple of hours cleans them and washes out any bugs living inside the hollow mushrooms. Some people slice them in half lengthwise for a more thorough cleaning.

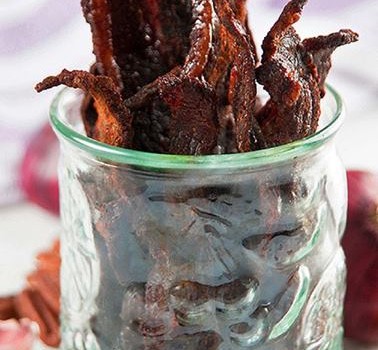
Here you see morels sautéing in butter. Cooking in butter brings out their rich, almost meaty flavor. If I don’t have very many, I like to scramble them into eggs with some tarragon. Batter-fried morels are also very popular.

The bounty of spring, fork-ready. Serve with a breast of wild turkey or some fish fillets and it’s totally awesome!
Follow our FISHING BLOG
WEB RATES FISH HUNT CABINS PHOTOS
TESTIMONIALS BROCHURE HUNT BOOKLET


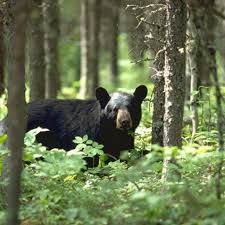 1. Clear an area surrounding the black bear. Make the area large enough to allow room to move around and roll the animal away from the entrails. The lowest part of the ground should be reserved for the entrails. Move the bear onto its back. Spread the rear legs and either have your partners hold them apart or secure them with ropes. Repeat with the front legs.