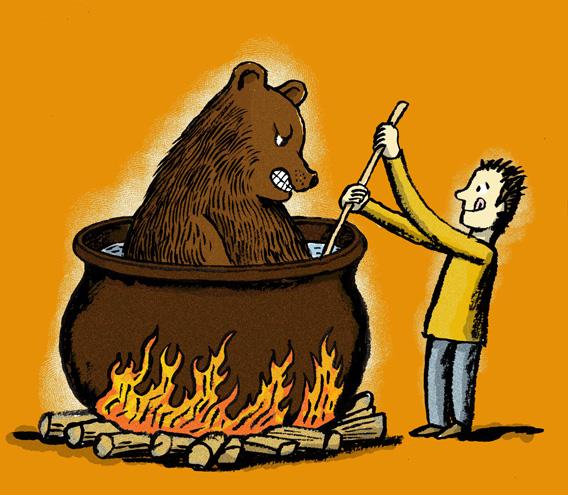
Meat, poultry, and game are low acid foods and must be canned or processed in a pressure canner to assure it is safe to eat.
1. Canning frees up freezer space for other things.
2. Pressure canning can make the less tender cuts versatile.
3. Home canning meat means jars of meat on the shelf ready to go at a moment’s notice. No defrosting time. Ever tried to defrost an elk roast quickly in the microwave because you forgot to take it out earlier? Doesn’t work so well. (Ask me how I know!)
4. The best benefit? My guys love it. We are an active hunting family with 4 sons. Much of our meat is provided by the men of hunting age in our family.
Meat, poultry, and game are low acid foods and must be canned or processed in a pressure canner to assure it is safe to eat.
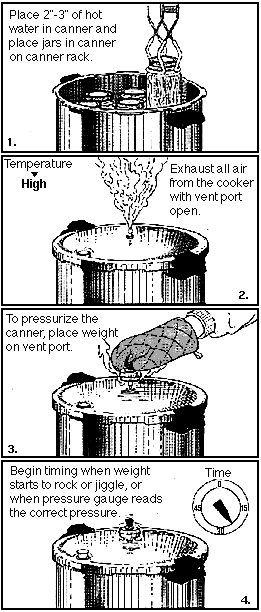
11 pounds pressure with a dial gauge pressure canner
15 pounds pressure with a weighted gauge pressure canner for required times.
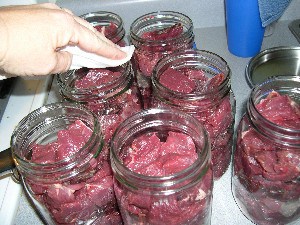
Choose only good meat for canning, and handle it quickly and with total cleanliness, because bacteria grow rapidly in meat held at room temperature. If you have a large amount, store the part you’re not working on in the refrigerator.
 You can:
Start with properly cleaned and chilled product.
Can fresh meat and poultry within 2 days or freeze it.
To can frozen products, thaw in the refrigerator until most ice crystals have disappeared, then handle as if they were fresh.
Trim gristle and fat off meat before canning. Fat left on meat melts and climbs on the sides of the jar during processing and may interfere with the sealing of the lid.
Salt is optional in canned meat and poultry.
Fish should be canned immediately or frozen until processed.
For large game animals (deer), follow beef processing times and methods.
For small game animals and birds, follow poultry processing times and methods.
Use canned venison or canned elk in stews, meaty soups, and even chili. You can use it to make Sloppy Joe’s and killer Enchiladas.
Follow our FISHING BLOG
WEB RATES FISH HUNT CABINS PHOTOS
TESTIMONIALS BROCHURE HUNT BOOKLET