Building a smoke house the old fashion way is a method that has been used for generations. Many people today like to smoke their own meat not only to give it flavor but also to preserve it longer.
The size of your smoker will depend on what you plan to use it for. Whether you want it to just smoke a few fish, smoke sausage every now and then or smoke an entire animal at one time, will help you determine the size of your smoker

Beginning:
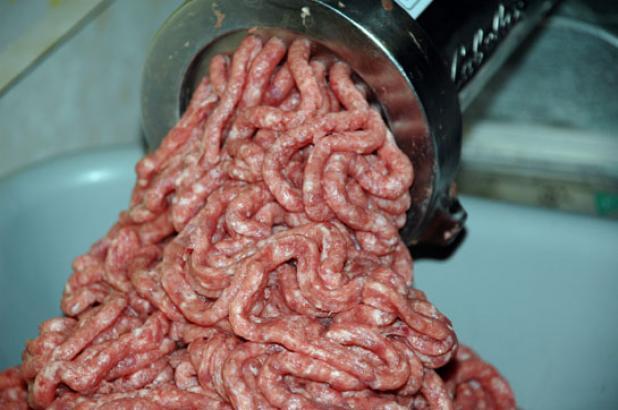
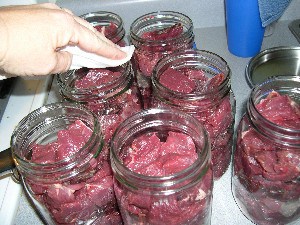
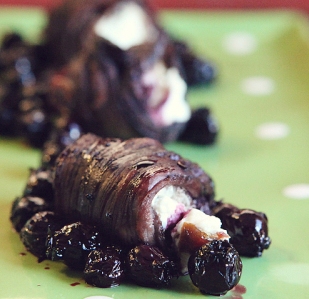
When it comes to flavor of the meat, people through the years have made up their own recipe of brine to rub over the meat before smoking it.
How To Build A Smoke House
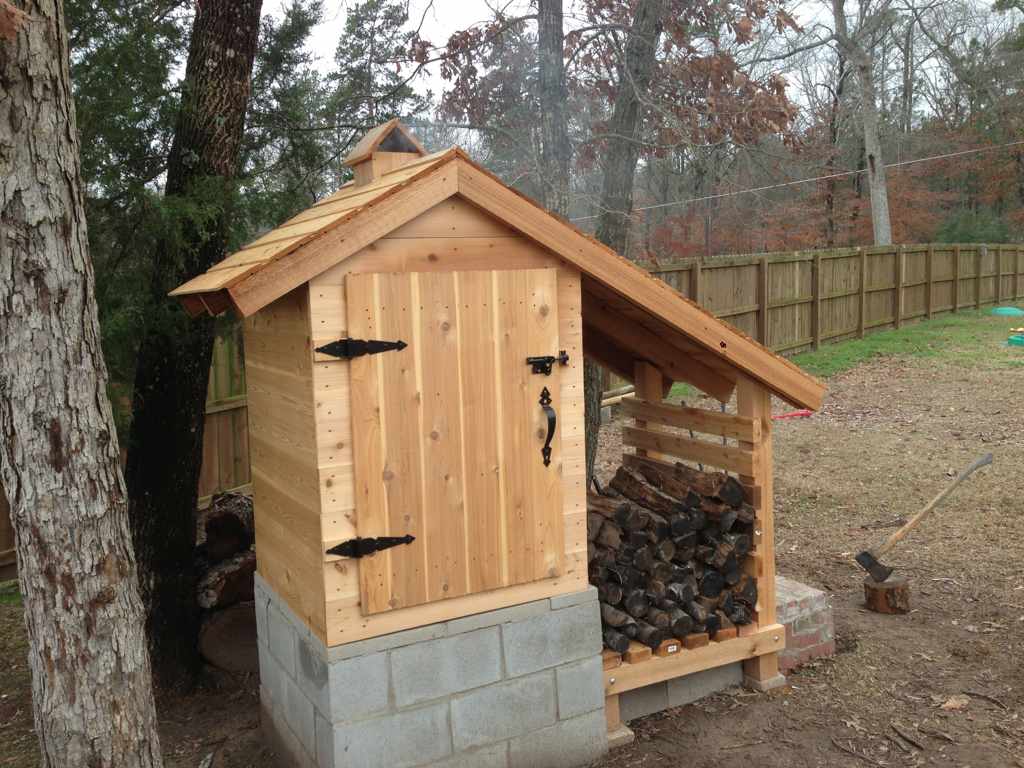
The Building Process:
Building a smoke house, there are a few things that should be considered when building your smoke house. It is not important to spend a small fortune for material for the construction. Reclaimed wood will work just fine. You may want a smoker big enough to walk in with shelves to lay the meat on along with hocks from the rafters to hang the meat.
You will want to vent the building to allow the smoke to travel freely through the building.

Building a smoke house, a very important factor is to situate your fire box down hill from the smoke house. This will allow the smoke to travel up hill into the smoker much easier. All that is required for a fire box is a fire box made from brick or even an old barrel with the smoke piped into the smoker will work just fine by having the fire box away from the smoker, the meat will not dry out as much as if it were right in the smoker.

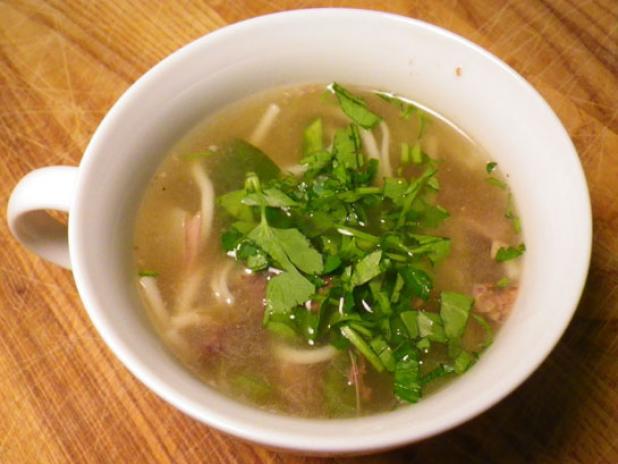
The Smoking Process:
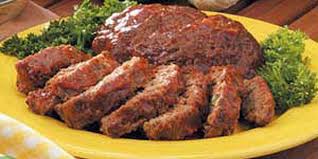
To also help in the flavoring of the meat, by using different kinds of wood chips in the fire box will create different smoke changing the flavor in the meat.
Follow our FISHING BLOG
WEB RATES FISH HUNT CABINS PHOTOS
TESTIMONIALS BROCHURE HUNT BOOKLET