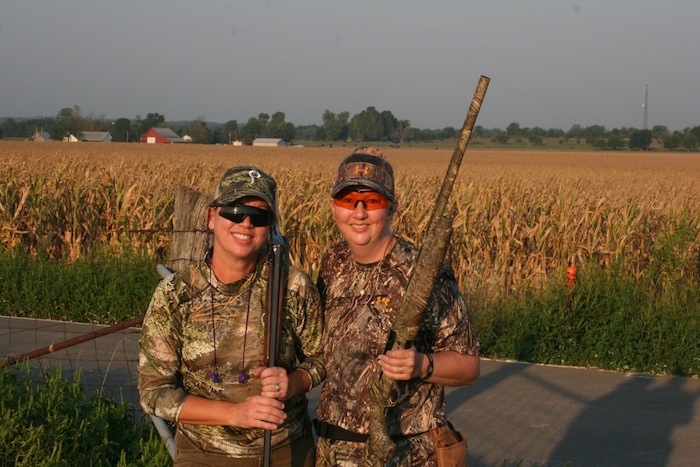
Women are joining the hunting ranks at a faster rate than men. But, we ladies still encounter a few problems when it comes to learning the sport. The No.1 problem for women going afield is trying to find places to hunt.
The No. 2 problem? You guessed it. It’s you guys.

Women are the fastest-growing hunting demographic
Don’t get us wrong. We’re not trying to man-bash. We love that you’re willing to take the ladies in your lives hunting. But, sometimes you guys make mistakes – big ones that may prevent us from wanting to ever hit the woods with you, or anyone else for that matter, ever again. If you truly want us out there with you, then read on to find out how to make our experience more enjoyable. If you don’t, then read on to learn how to ensure that the ladies in your life will never want to go hunting again.
We asked some of our female hunting friends to help us list the top 12 reasons women get turned off while hunting. We also provided solutions, because we care. (Also, remember that dark chocolate is usually the choice of the female hunting masses.)

Barbara Baird
1. Underestimating the importance of comfort
“I know we have cushy bottoms made for sitting, but not for hours on end in the briars. During one of my first turkey hunts, my guide made me sit on the ground in a briar patch where I couldn’t see anything coming or going — just a small swath directly in front of my feet. The temperatures started dropping – from the high 50s to low 40s – with light, and then toad-strangling, rain. We sat there for six hours. My legs jumped and moved all on their own, just trying to keep some body heat. When I finally stood up, I almost fell back down. I had to stop at a gas station, change in the bathroom and wipe down with paper towels. Now that I know more about turkey hunting, I would never do that to a new hunter.” – Barbara Baird – Realtree.com blogger and publisher of Women’s Outdoor News
The Solution: Remember these words: “This is fun.” If it ain’t, call it a day. How can you tell? Well, look at her face. If you see strained expressions or grimaces, she’s done. Or, she might say something like, “Sure would be nice to take a bath.”
2. Behaving condescendingly, because big girls do cry
“There have been times while hunting alongside men that I have heard the words, ‘You stay in the blind; we will put out the decoys … too cold for you!’ I once made the shot on a bird, but the guy next to me screamed, ‘How did you like my shot?’ I have been told, ‘You shouldn’t shoot a 3 1/2-inch shell – too much for your little arms to take!’ and I have even heard, ‘The only reason you get any attention is because you are a woman hunter and they are so rare you don’t have to be good.’” – Kimberly Snyder – Outdoor pro-staffer for various waterfowling companies and contributor to Lady Hunter Magazine
The Solution: Don’t push. Just be there. Kimberly advises, “It can be very tough. When I take women out with me, I make it about what they are comfortable with. I don’t ever push, but I try to make it a bonding and fun experience that keeps them wanting to get back out there. I try to be positive, supportive and encouraging – all the things I would want from someone. Allow them to push themselves.”
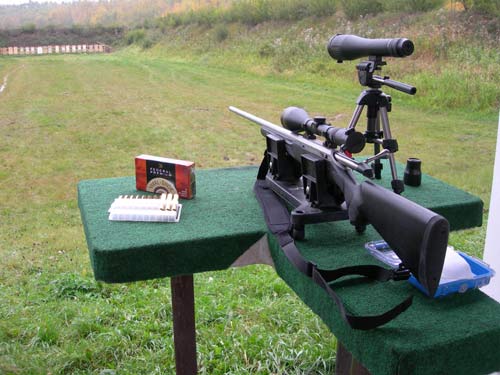
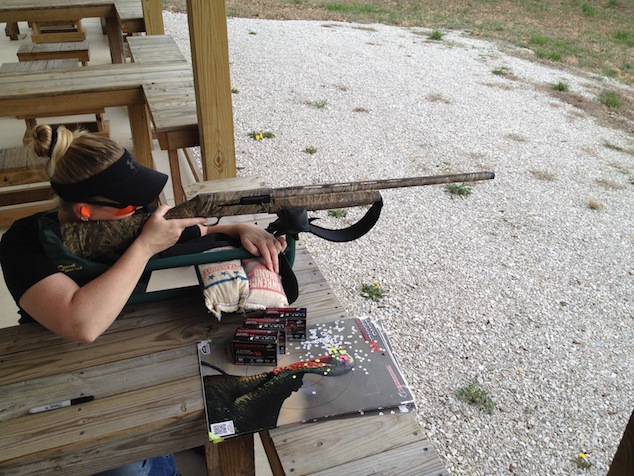
3. Not helping with shooting practice before the hunt
“Practice, practice, practice. Help them make good shots so they don’t have to see an animal suffer. The experience can be frightening and can even make them not want to take the second shot to finish the animal. And, take caution in showing women the guts and gore. If they don’t want to see it, don’t make them. They’ll grow into it in their own time.” — Mia Anstine, outfitter, hunting guide, freelance writer
The Solution: Make sure she is familiar with her gun or bow before she hunts with it. Has she patterned that shotgun or sighted in that rifle? Does she know all the safety rules for handling firearms? Has she practiced with her bow? Education on how gun or bow works and what it will do is paramount to success in the field. Also, think about recoil and noise. You can greatly aid your lady friend by making sure that she has hearing protection and that she wears shoulder padding.
They even make a recoil pad that pins under a shirt on a bra strap, but it’s probably best to let her do that – unless you ask first.

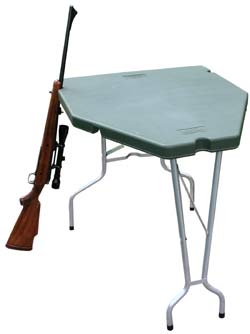
Ample shooting practice is essential for a successful hunt
4. Being crude or rude
“I try to be just one of the guys when I’m hunting with men, especially if I’m the only lady in camp. I don’t get offended easily, but that doesn’t mean I want all sense of decorum and class to be tossed out of the window. I once hunted with a guy I’d never met who not only burped inches from my face, but he peed right in front of me as well. Let’s just say that put a bit of a damper on my hunt. I also hunted with a guide who proceeded to show me vulgar photos of women on his cell phone. Only minutes after meeting me, another guide felt the need to tell me about all of his and his friends’ forays with prostitutes. There are some things female hunters don’t want to see or hear about, at least not this female hunter.” — Stephanie Mallory, Realtree blogger, owner of Mallory Communications Inc.
The Solution: Sing it, ladies … R.E.S.P.E.C.T.
“Animal House”-type antics never belong in hunting. Treat the lady hunter how you’d want someone to treat your mom, sister, grandmother or any other female in your family. A good rule of thumb is to let the female hunter set the tone for your hunt. She may be prim and proper, or she may be as crude as a Bob Saget stand-up routine. If you don’t know her that well, play it safe and display good manners. Avoid vulgar language, sexual innuendos and crude behavior. If she’s your buddy, wife or girlfriend, then you should already know how she wants to be treated. If you haven’t figured that out yet, then enjoy what little time you have left with her.
5. Not putting safety first
On another turkey-hunting expedition – this would be about No. 19 without a tag filled – my guides sat me, my hunting partner and a cameraman under a tree. They positioned themselves about 100 feet down from us. A thunderstorm promptly rolled in, but did the guides call it off? Heck, no. We sat there in the rain, watching toms walk past us out of range for hours. Meanwhile, the creek rose, logs rushed down it and our posteriors created magnificent butt puddles. When lightning started striking around the field, I kept thinking that my kids would tell their friends that, “Mom died while sitting under a tree in a thunderstorm, pointing a metal rod into the air.” — Barbara Baird
The Solution: Never put your lady in danger, from the weather or anything else. If she’s the mother of your children, consider whether or not you have enough insurance to raise said children properly with an English nanny? Stephanie and I have four children each, and believe me, our husbands could not afford the quality of care that we dish out to our kids.
Stephanie Mallory
6. Showing lack of respect for the lives taken
“I once attended a hunt camp where another female would be hunting for the first time. She was very intimidated by the whole idea and wasn’t sure about taking an animal’s life. When we arrived at the lodge, the first thing the guides did was put a video on TV showing them shooting chickens off a fence post for fun. The new hunter was horrified, of course, and immediately ran to her room and started crying. The guides made all hunters look bad in her eyes and set a poor tone for the rest of the hunt.” — Stephanie Mallory
The Solution: Yes, we ladies understand that killing is part of the deal. But nothing will sour a woman’s taste for the hunt more quickly than when a man acts cruel or indifferent about the animals he’s hunting, or not hunting. If you show respect for the life you are taking, your female hunting companion will in turn have more respect for you and for the sport you love.
7. Pushing the shot
“When I was 12, my dad and I hunted with a group that did deer drives. If you didn’t shoot at everything, you were ridiculed, but if you shot something too small, you were also ridiculed. To me, hunting is a very personal experience, and taking a life is a serious action. The person pulling the trigger should not feel forced into it.” — Trisha Bowen-Steffen, outdoor writer and pro-staffer for various bowhunting companies
The Solution: Assuming that she’s had all the training mentioned earlier, and that the recoil or noise is not the reason she hesitates in the clutch for the shot, she might not be ready. Or, she may not want to shoot that particular animal that day. It is her choice, not yours. You cannot rent the space in her head as to why she let an animal walk, but you might ask her to explain her reasoning to you. Do not judge. Bring chocolate.
Nikki Boxler and David Blanton
8. Not listening or communicating
“I am naturally outgoing, and when there is something I enjoy, I want to learn everything I can about it. I research, ask questions, practice … Did I mention ask questions? Seriously, I always have a million questions because there is always more learning to be had, and it is great to hear about other people’s experiences and thoughts. Many times you can learn through their mistakes to prevent you from making them in the future.” — Nikki Boxler, model, hunter and director of marketing for Neiman Funds
The Solution: We guess no one has to tell you that, as a whole, women like to talk.
In fact, some researchers claim that the average woman speaks 13,000 more words per day than the average man. So talk back.
Encourage questions and answer them thoughtfully. One of the biggest complaints women have about their romantic relationships with men is lack of communication. Lack of communication can be a problem between the male and female hunter as well. You’ll have plenty of time after the hunt to zone out in your lazy chair while recovering from the exhaustive effort of speaking all those extra words.
9. Displaying lack of patience
“I was immediately turned off during one of my first target-practice sessions when my boyfriend just assumed I knew what every button and lever did on the rifle. He lost patience and jumped in to do everything for me, instead of explaining to me how to load it properly. Talk about discouraging. The day ended with me in tears and never wanting to pick up a gun again. He later apologized and realized that guns just aren’t natural to some people. I mustered up the confidence to try again, and now I really enjoy hunting with him. After a lot of practice, I’m beginning to understand how fun it can be to shoot and hunt … once you get the hang of it. – Candace Schaak, avid hunter from Cold Bay, Alaska
The Solution: Let’s face it: Patience isn’t always your strongest virtue. But it’s important, especially when you’re hunting with a new female hunter. The best teachers are patient teachers. Take time to instruct and explain the process throughout the hunt. Remember, this is all new to her. If you become short-tempered, impatient or irritable, you’ll ruin the whole point of the hunt, which is to have fun. And you’ll have an upset woman on your hands, which isn’t fun either.

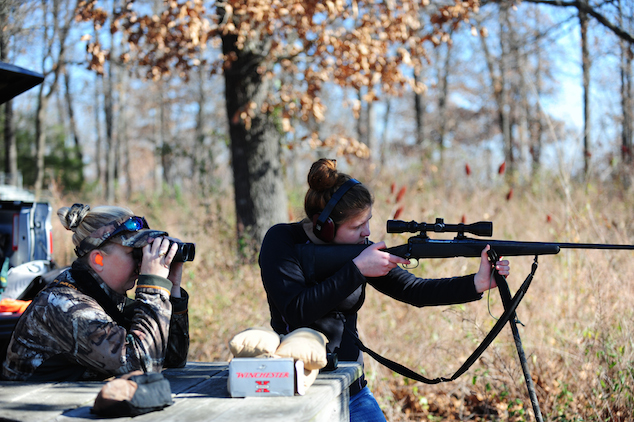
Don’t assume the lady you’re hunting with for the 1st is incompetent. Chances are that won’t end well
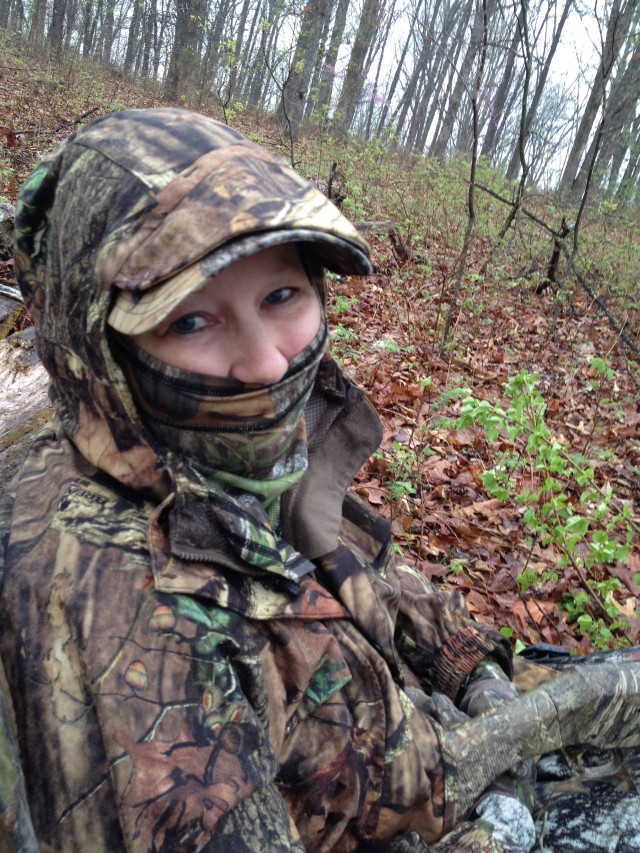
10. Treating the woman as if she’s frail
“My guides and the other hunters in camp went off and left me at the cabin one morning as I slept because they assumed I wouldn’t want to turkey hunt in the rain. I guess they were just being protective, as I was a few months pregnant at the time. But, it was only sprinkling, and it wasn’t cold, so I would have been fine. Plus, I had really wanted to go!” — Stephanie Mallory
The Solution: Yes, we want to be comfortable and content, but we’re not afraid to get dirty and brave the elements when the situation calls for it. Don’t just assume the female hunter doesn’t want to get wet, muddy or tired. She may be just fine with crawling through that mud hole or sitting in the rain while waiting for a turkey to show up. All you have to do is ask her. She’ll let you know what she’s willing to do or not to do.
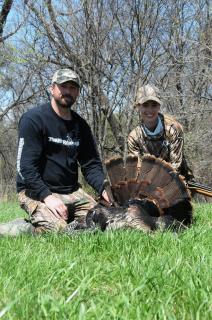
11. Focusing only on the kill
“Most experienced hunters I’ve gone with simply do things like pick a stand location, set out decoys, or use a call without explaining how and why. I’d say most women would like to not only go on the hunt, but actually learn how to hunt. I realize the guy wants to just handle everything and make sure the hunt is successful, and I appreciate that, but just being told when to pull the trigger is not enjoyable in itself.” — Brita Lewis, account executive / marketing strategist at Gray Loon Marketing Group
The Solution: For many guys, it’s all about getting the job done. You set a goal of taking an animal, and you want to accomplish that goal. But, education and fun should be part of the goal as well. Use every opportunity to teach and explain what you are doing. In fact, don’t just wait until the day of the hunt to involve the female hunter. Get her involved before season when you are scouting, planting food plots, hanging stands, etc. Involving her throughout the process provides her with more enjoyment and a sense of accomplishment as well.
12. Underestimating the female hunter’s capabilities
“I work for a well-known gun company, and my turkey-hunting guide knew this. Even though I was hunting with one of my company’s’ guns and had a lot of experience shooting it, my guide would not let me load it myself. When we arrived at the hunting spot, he insisted on loading the gun, but he had difficulty loading it and keeping it quiet at the same time. Hmmm. I could have loaded it quietly without any effort.” — Marian Council, creative director at Benelli USA
The Solution: News flash: no one likes to be treated as if they’re incompetent. If you don’t know the woman, don’t just assume she’s incapable of loading her own gun, driving an ATV, calling a turkey or any other skill one might use while hunting. Again, all you have to do is ask. She might surprise you.
By Barbara Baird and Stephanie Mallory
Follow our FISHING BLOG
WEB RATES FISH HUNT CABINS PHOTOS
TESTIMONIALS BROCHURE HUNT BOOKLET