
WEBSITE RATES FISH HUNT CABINS PHOTOS
TESTIMONIALS BROCHURE HUNT BOOKLET
 Always be cautious using a tree stand. As hunters begin to set up tree stands as part of their preparation, safety is still rule number one whether you are scouting a location, trimming shooting lanes and putting up your tree stand, even on a trial basis, use the same precautions you would during hunting season.
Use a lineman-style belt in addition to a full-body harness when first putting a tree stand in place. This minimizes the chance of falls and potential injury, and, always select a healthy, straight tree for placement.
Other recommendations:
Never carry anything as you climb — use a haul line to raise and lower equipment.
As with any piece of equipment, tree stands need inspection before use.
Replace:
Leaving a tree stand up from one season to the next has some inherent problems that outweigh any convenience. When a tree stand is exposed to the elements due to long-term placement, it may have damaged straps, ropes and attachment cords — any of which may potentially lead to breakage and failure.
WEBSITE RATES FISH HUNT CABINS PHOTOS
TESTIMONIALS BROCHURE HUNT BOOKLET

With the season upon us, being in the field is commonplace. In the event of an emergency or in climate weather
Understanding how to create effective wilderness survival shelters is one of the most important outdoor skills. From keeping you protected from the elements to providing a place to rest, wilderness shelters serve a key role in survival situations. Not only do they provide for physical needs, but also help create a sense of home in the wilderness. Though each season and environment presents its own challenges, there are several universal principles for creating effective wilderness survival shelters:
Location
The most important aspect of making wilderness shelters is choosing a good location. A good location is one that 1) provides easy access to ample building materials such as dead sticks, leaves, and grasses; and is 2) away from major hazards such falling branches, pooling water, and insect nests. You also want a location that has a large enough flat area to allow you to lie down and sleep comfortably.
Size
A common mistake when building wilderness survival shelters is to build them too large. Not only does it take more materials, effort, and time to construct, but often ends up being cold due to the amount of space on the inside. Effective wilderness shelters are often small on the inside – just large enough to fit your body to conserve body heat.
Type
The debris hut is an extremely versatile wilderness survival shelter. It can be built in almost any habitat and does not require tools or special equipment. Creating an effective shelter is one of the most important priorities in a survival situation. Most lost persons perish from hypothermia, which may have been easily avoided had they constructed a simple shelter.
The debris hut is constructed using sticks and any available debris, such as leaves, moss, ferns, bark, etc… The key to a good shelter is to insulate yourself from all of the forms of heat loss. Your body can lose heat through direct contact with the ground, wind, and simply radiating off of your body. Therefore, your shelter needs to provide insulation and protection from all of these elements.
A completed debris shelter is like a gigantic water-resistant sleeping bag, insulated by debris and held together by sticks. To construct a debris hut:

1.) Select a location that provides ample building materials (sticks and debris) that is safe from falling branches, pooling water, and other hazards.
2.) Prop up a sturdy 8-foot pole-like branch on a stump or crook of a tree. This ridge pole should be sturdy enough to support your weight. The size of the space underneath the ridge pole should be just large enough to fit your body plus six inches of debris on all sides.
3.) Lay shorter stick along the length of the ridge pole on both sides, leaving room for a doorway. These shorter sticks are called ribbing. The ribbing sticks should touch the ground roughly six inches outside of where your body would lay.

4.) Add smaller sticks on top of and perpendicular to the ribbing sticks. These latticework sticks will keep the outer debris from falling inside the shelter.
5.) Pile large amounts of leafy debris on top, as well as inside. Use your driest, softest debris on the inside closest to your body. When complete, there should be at least three feet of debris piled up on top and on all sides of the shelter.
6.) You can lay more sticks on top to keep the wind from blowing the debris away if it is a windy day.
7.) A door plug can be created by stuffing a shirt full of leaves.
Crawl inside, being sure to burrow into the leaves, so that there is a mattress of leaves insulating you from the ground and on all sides. Though nothing like the warmth of your own bed, a debris hut will allow you to survive the night.
Follow our FISHING BLOG
WEB RATES FISH HUNT CABINS PHOTOS T
ESTIMONIALS BROCHURE HUNT BOOKLET

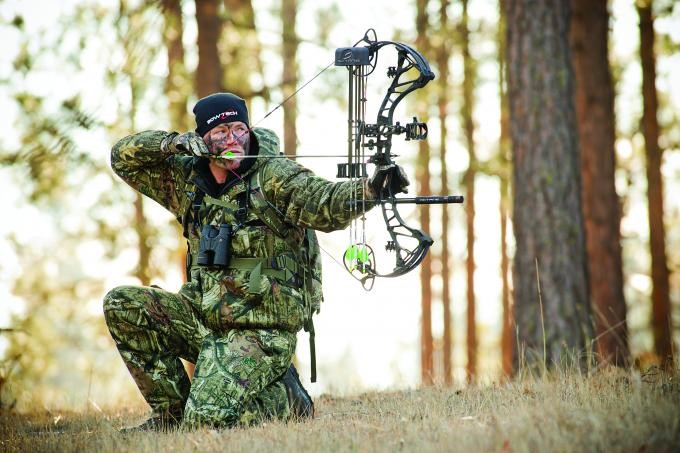
Dry-firing your bow is something you will want to avoid at all costs. To help minimize your chances of dry-firing a bow you should always draw a bow with an arrow in it, and aim it at a target. This way if you do accidentally release the string there is an arrow in it and you have a target to stop the arrow. Also if you are just trying out a bow be sure to draw with an anti-dry-fire release. When in a group of people it is very easy to become side tracked and forget to load your bow with an arrow. It’s always good to double check before you draw your bow

Dry firing a bow is the act of shooting a bow without an arrow. While this may seem harmless to some of us who are just starting out I assure you that this can be one of the most costly mistakes you can make.
The fact of the matter is that it can happen to anyone beginner or expert for many different reasons. Whether it be from ignorance, distractions, or accidental misfire of a release it happens all the time. So the question is what do you do if you accidentally dry-fire your bow.
There are a few outcomes that could happen when a bow is dry-fired, the first is that is that it will appear that nothing has happened to any of your bow. The second scenario is that your string breaks however everything else stays intact. The third possibility is your bowstring, and cables could snap resulting in your limbs breaking and potential debris flying all over the place. This is basically the worst case scenario and can at times be irreparable.
No matter what scenario your bow falls into after being dry-fired, the first thing you will need to do is to get a magnifying glass and a bright light and look over the limbs especially near the cams for any cracking, or splintering. If you find that one of both limbs have cracks or splinters in them then you will have to replace the limbs before you are able to shoot again. Failing to do so will likely cause will render the bow unusable and/or injury.

In any of the other cases where the string breaks and/or the bow limbs shatter, you will first go get medical attention if you need it and then you will need to bring your bow in to a bow repair shop and you will have to replace the limbs,string, and any other broken parts(axles,cams,wheels etc.).
After checking for cracks and splinters in the limbs, take a look at the cams/wheels to make sure that they have not been bent or cracked, again if they are you will need to replace them as soon as possible before you are able to shoot. Next if you were lucky enough to have your string still intact, you will need to check the whole thing for badly frayed portions, cut strands, and badly damaged areas, especially near the axles.
If everything checks out and you were unable to find anything wrong with your bow then you are lucky, and you have 2 options, your first option is to draw the bow(with an arrow) and shoot it. Make note of any weird noises, or vibrations. If you aren’t the risky type then you can bring it into a bow repair shop and they will have the tools and resources to be able to better inspect it for damages.


In closing, dry firing a bow may seem innocent, but in turn can be detrimental and even dangerous. Take your time to ensure longevity of your equipment for years to come and better success rates!


Follow our FISHING BLOG
WEB RATES FISH HUNT CABINS PHOTOS
TESTIMONIALS BROCHURE HUNT BOOKLET

Archery is a sport that involves the use of a bow and arrow, This sport is hundreds of years old and is even featured in the Olympics. The actions in archery utilize several main muscle groups in the body, including the triceps, which sit at the back of your upper arm, the deltoid muscles in your shoulders and the latissimus dorsi muscles in the lower back. To improve your archery skills, include exercises that target these muscles in your workout.

Dumbbell one-arm lateral raises strengthen the deltoid muscles, which are used to provide strength and power for holding and pulling back the bow in archery. Stand straight with your feet shoulder-width apart, your right hand holding onto a stationary object on your right and your left hand holding a dumbbell straight down so it’s resting in front of your pelvis. Slowly raise your left arm up to the side, continuing until your elbow is at shoulder-level. Lower it back down, repeat and then switch arms.


Spending time on the rowing machine is well worth it if you want to improve muscles for archery, because it works all of the primary muscles used in the sport including the deltoids, latissimus dorsi and triceps. Sit on the seat with your feet strapped in securely. Keep your back straight and hold onto the handle. Slowly push off with your feet, sliding back until your legs are almost fully extended. Return to your starting position and repeat.

The overhead triceps extension is one of the most effective exercises for the triceps muscles. Stand straight up with your feet close together, one slightly in front of the other and both flat on the floor. Extend your arms fully above your head, grasping the top of a dumbbell with both hands. While keeping your upper arms beside your head, slowly flex your arms, lowering your forearms behind you toward your back until you feel a light stretch in your triceps. Raise your arms back up above you to complete one rep. Repeat.
The barbell pullover exercise targets the latissimus dorsi muscle in the back, but it also works the triceps and deltoids, making it an integral muscle exercise for archery. Lie your upper back perpendicular on a flat weight bench, your legs bent in front of you on a right angle with your feet flat on the floor. Grasp a barbell, position your arms so they’re extended straight above you and keep your hands aligned with your shoulders. While keeping your arms straight during the movement, move your arms back in a slow, controlled motion, until the barbell is directly behind your head. Then, return to your starting position. Repeat.
The latissimus dorsi is the largest muscle of the back and is one of the main muscles in the body used in archery, primarily during the drawing motion of the bow. Lat pulldown exercises are most effective for targeting this muscle, so try the cable close-grip pulldown. On the seat of a lat pulldown machine, place your feet flat on the floor below you and position your hands above you while grasping onto the parallel cable attachment. Engage your core, pull down on the cable attachment and then return it until your arms are fully extended. Repeat.
Even with all the right exercises, if you’re not using the right amount of weight or completing the proper number of sets and reps, you’re not going to get the results you’re hoping for. Start off with a weight you can manage, and only increase the amount of weight you’re using when you can complete a full set of 12 reps while maintaining proper form the entire time. Gradually work up to completing three sets of 12 reps.
Follow our FISHING BLOG
WEB RATES FISH HUNT CABINS PHOTOS
TESTIMONIALS BROCHURE HUNT BOOKLET


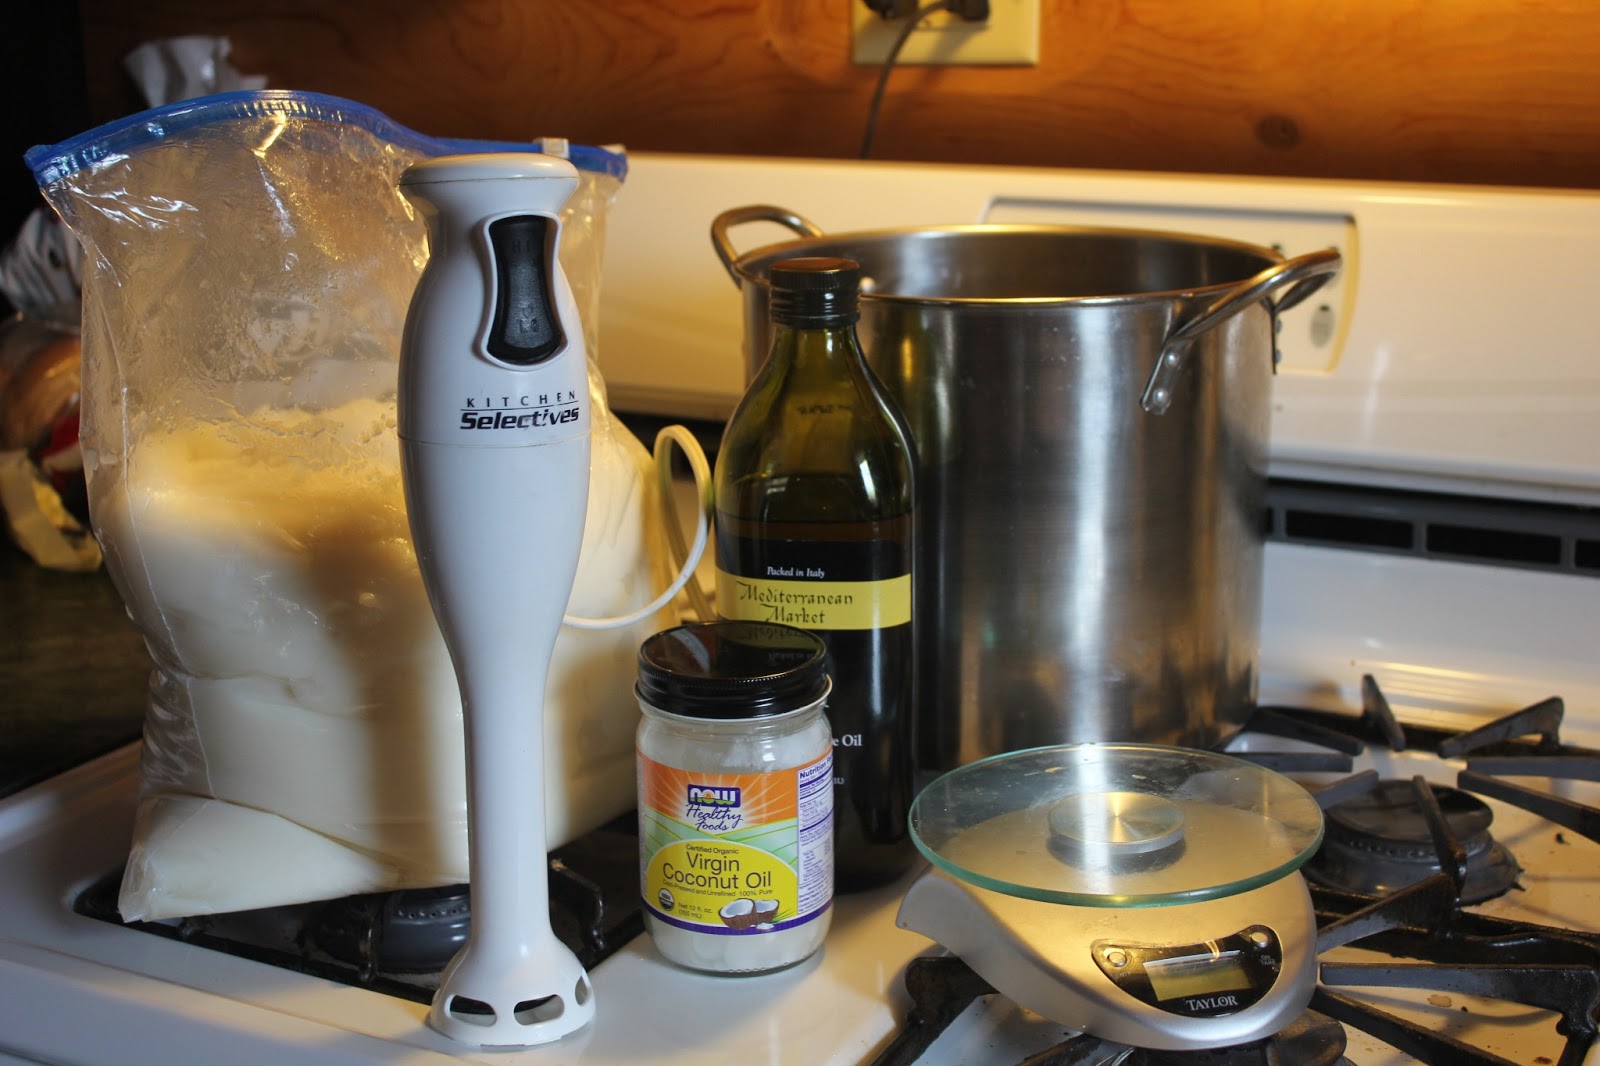


Our oils are melting down so we will wait a bit to combine the lye and water. You should have an idea if you are going to add other stuff to you soap. It’s good to organize all that you need in exact measurements so they are ready. You never know how fast things can move a long. Better to have a little down time waiting on temps than being rushed and frazzled. That’s when accidents happen.
You can add some extra fats after the soap traces for superfatting. You can add fragrance or other additives for texture.
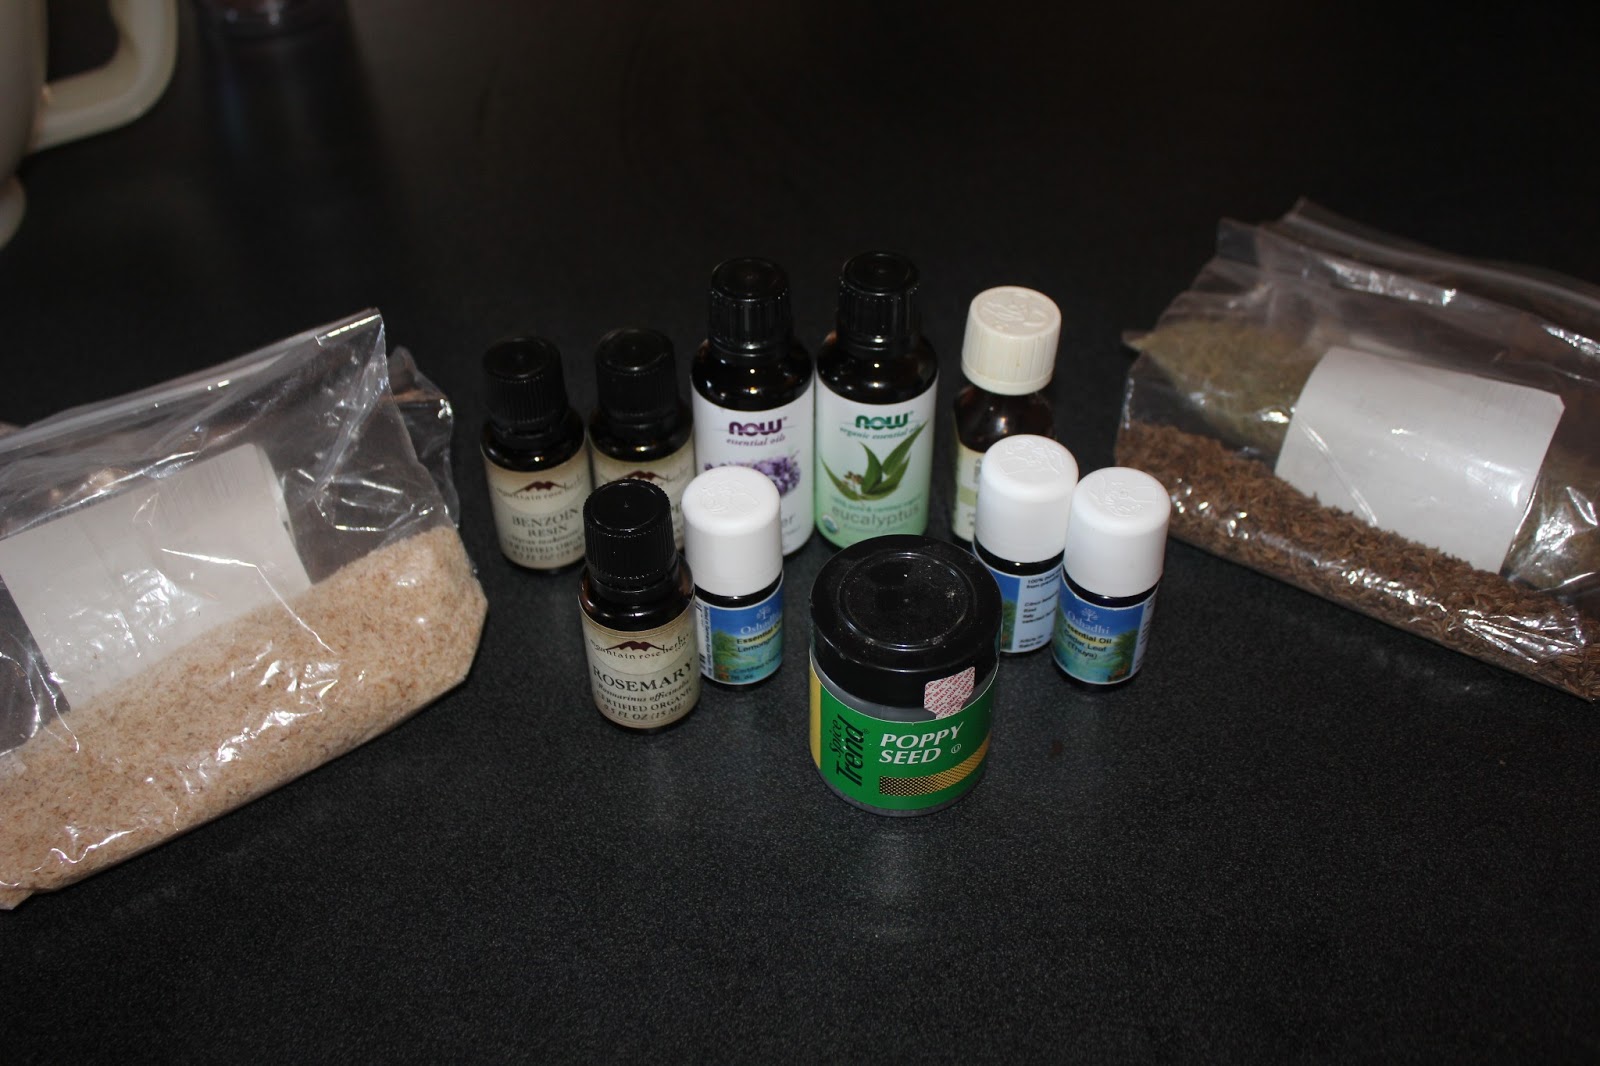
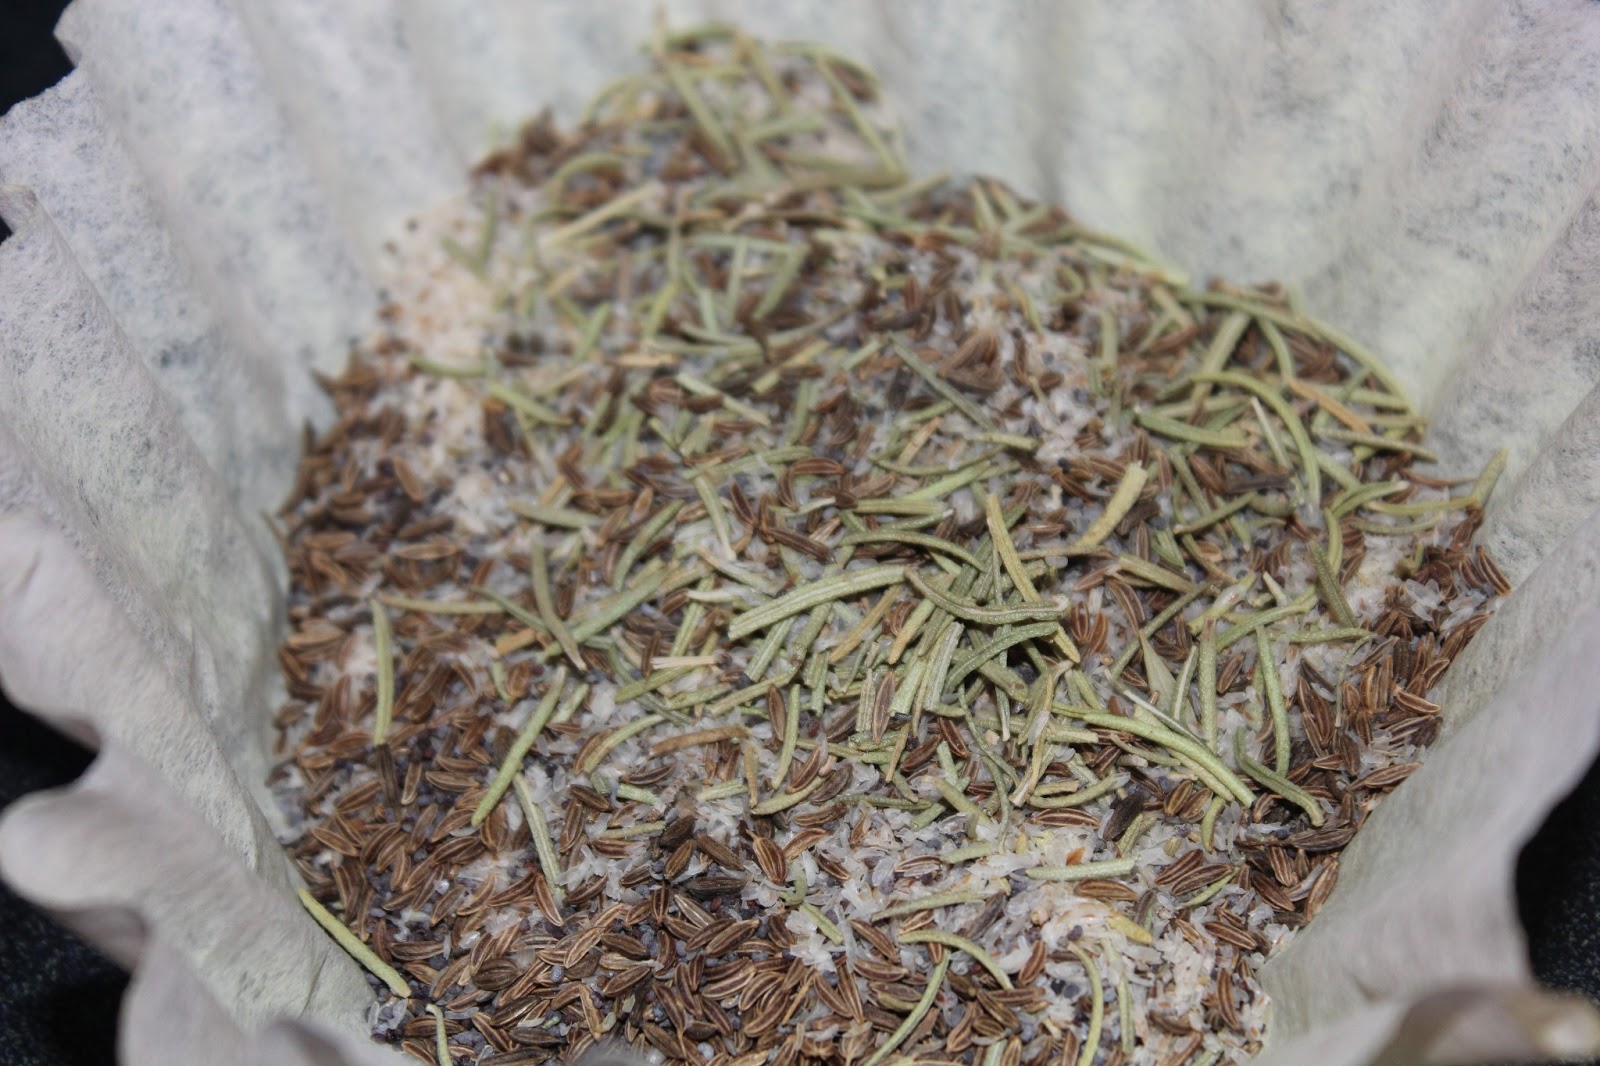 |
| Exfoliant for our gardener’s soap. |


Follow our FISHING BLOG
WEB RATES FISH HUNT CABINS PHOTOS
TESTIMONIALS BROCHURE HUNT BOOKLET

Paracord can be an awesome tool in your preparedness arsenal. This durable nylon rope can be tied into tons of different designs including bracelets, strengthened cords, pouches and more. If you’re in an emergency, you simply unwind the strong cord and use it to bind, haul or anything else that you might need.
What is Paracord?

Paracord, also known as parachute cord, is a soft, lightweight nylon rope that was originally used for parachuting. Typically, 550 paracord (which is the paracord used for our bracelets) is made of 32 strands of nylon sheath on the outside and seven strands of 2-ply nylon yarns on the inside (the “guts”). The 550 paracord is the same made for the government and has a minimum breaking strength of 550 lbs.
While paracord started out as a parachuters tool, people quickly recognized its usefulness in other areas. Since the cord is quick-drying, rot- and mildew-resistant, it’s great for many purposes. Military units use it for securing packs, hanging covers and tents. Many military personnel even use the guts as fishing line.
Check out these designs:
Bracelets
Paracord Snake Design
Paracord Woven Watchband
Paracord Keychain
Paracord Belt Design
Paracord Bracelet Design
• About 10 feet of Paracord
• Lighter
• Tape Measure
• Side release buckle
• Scissors
1. Measure the diameter of your wrist by wrapping a single line of paracord around your wrist. Make sure it’s nice and snug and with a marker, make a line across the paracord while it is wrapped around your wrist. Straighten out the paracord and measure the line. This will be used for reference later.
2. Take the 10 foot line of paracord and fold it in half.
3. String the two loose ends through the male end of the buckle and pull them through the loop that the 10-foot line makes at the other end. Pull it tight and it should look like this:

4. Measure the line to the diameter of your wrist and place the female end of the buckle.

5. Position the bracelet with the female buckle at the top. The two loose ends of paracord should be coming up through the buckle.
6. Take the left paracord line and pull it under the two lines of the paracord bracelet. Then place it over the top of the right loose end.
7. Then take the loose end on the right and place it over the top of the two bracelet strands. Then pull it through the loop that you made on the left side with the left loose end.
8. Pull the two loose ends tight so they tighten against the buckle.

For the next section, you’re going to basically repeat steps 6-8 but start with the opposite end.
9. Take the loose end on the right side and pull it underneath the two strands of bracelet. Make sure it’s on top of the loose left end.
10. Then take the loose end on the left and place it over the top of the two bracelet strands. Then pull it through the loop that you made on the right side with the right loose end.
11. Pull the two loose ends tight so they tighten against the previous knot.

Repeat
12. Repeat steps 6-11 until the paracord reaches the end of the bracelet.
13. If you need more room to braid, simply hold the male buckle firmly and pull the knots down the line.
Finishing the bracelet
14. Take your loose cords and thread them through the remaining slit of the male buckle.
15. Slightly lift the last knot that you made and pull the two loose ends through the loop.
16. Cut the loose ends close (about ¼ inches) to the end of the loop and seal them off by using a lighter.

Thanks to paravival.com for many of these ideas.
Follow our FISHING BLOG
WEB RATES FISH HUNT CABINS PHOTOS
TESTIMONIALS BROCHURE HUNT BOOKLET

Now this might not be good for your stand directly (blender and all LOL!) But it would be great to have on location for spike camps etc. Great idea!

Follow our FISHING BLOG
WEB RATES FISH HUNT CABINS PHOTOS
TESTIMONIALS BROCHURE HUNT BOOKLET

Consistent Baiting and Timing is Important
 We begin baiting two to three weeks prior to the hunters arrival as baiting is lucrative and can vary based on native food source availability, weather pattern and population. If baiting is done too far in advance, bear can lose interest and become complacent. The most impact for the hunter is when the food source is new and interesting yet dependable. The baits stations are checked regularly each day and documented as to its status: whether it’s been hit or not. This is also the ideal time to determine if the bait station has a sow with cubs or the size of the bear according to tracks.

Other animals frequent the baits as well.
All the information collected will determine if the bait station will be suitable for the hunter or not. Stations with sows will continue to be baited in order to confine that they remain in that specific area so they don’t wander and disturb the more suitable bait stations held for the hunters.
What Do We Use
Bears are omnivorous and will scarf down just about anything from produce to pastries, bread and meat scraps. The key is to make sure your offerings have a strong odor – sometimes the more putrid the smell, the better … at least when it comes to attracting them as we don’t place this directly on the bait. However, during the fall bear do not especially like this strong scent on the bait therefore we use these attractants to drag the area ensuring to lure the bear to the bait station where more delectable bread, pastries and leftover good scraps are waiting. Visiting bear that walk trails and roads we’ve dragged will beneficially establish their own scent trail to and from the bait as well luring in even more bear.
The Set Up
Our baits stations are naturally set up and made from logs and other forest fragments. These logs are large, very heavy and piled in a manner making them difficult for smaller animals to move. When hunters walk into the bait and notice that logs have been tossed around they are certain that a bear hi the bait.

Know the Rules
Study the Ontario hunting regulations. Know what you can and can’t do, season dates, licensing guidelines, bring firearms into Canada. We want our hunters to be comfortable while hunting in Ontario and it is also important to know that you will need to bring along a state/province license as proof of hunting experience to show the Ontario license issuer. Always ask if you don’t know that’s what we’re here for.
When to Sit Baits
Our hunters are required to bring their own tree stands. This is not only for liability reasons, but, also because you will be more familiar with your own tree stand and the more at ease you are with equipment the more it will increase your odds – less to think about. Upon request we will setup ground stands for those that are not able to climb. If this is the case be sure to bring along a comfortable chair. Evening hours are by far the proven time to encounter bear on the bait. This however is simply a higher percentage timeframe. Approaching the bait cautiously is always a must due to the fact that hunters have stumbled upon bear contently feeding at all hours, including early morning and mid-day. You can bring along trail timers and cameras to satisfy your knowledge of the activity of your bait station.
Follow our FISHING BLOG
WEBSITE RATES FISH HUNT CABINS PHOTOS
TESTIMONIALS BROCHURE HUNT BOOKLET